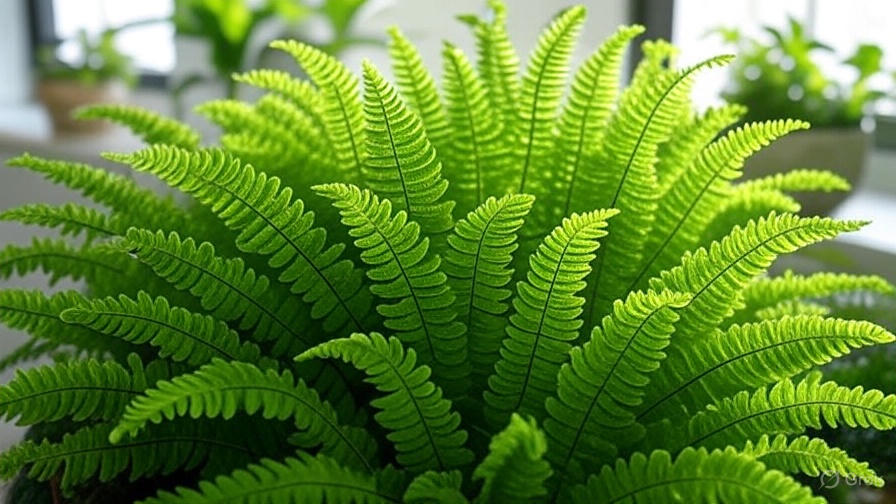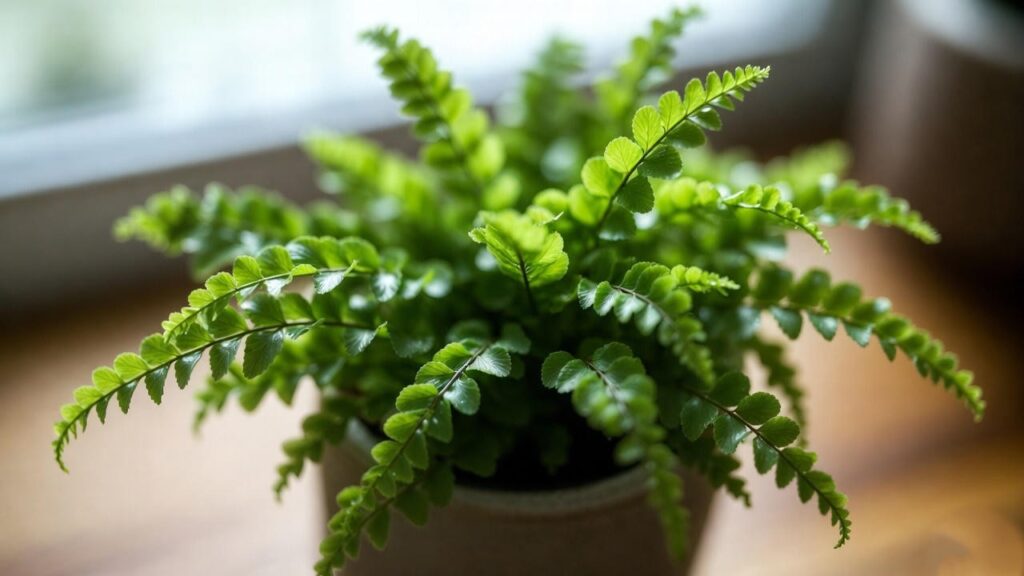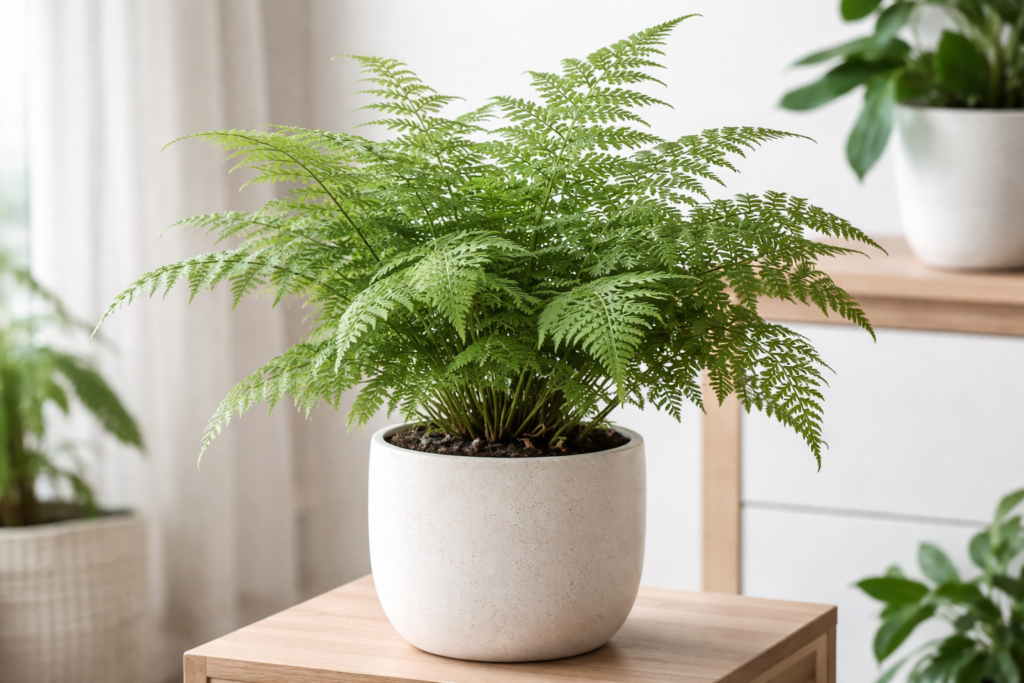
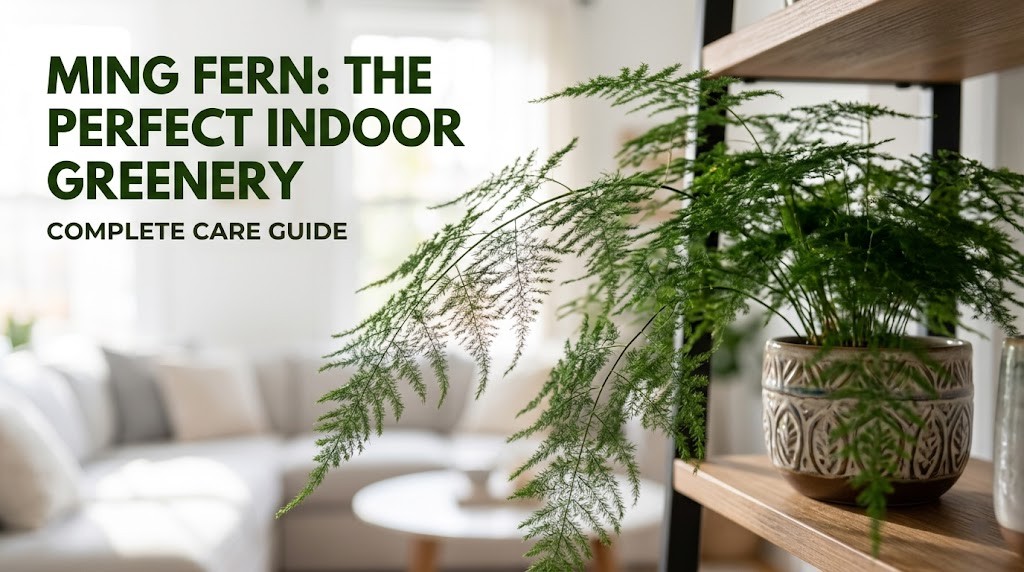
Few houseplants capture the eye quite like the Ming Fern. With its woody, zigzagging branches topped by soft, cloud-like tufts of vibrant foliage, this plant brings the refined elegance of a miniature bonsai tree into your living space without requiring decades of intricate wiring. However, beneath its delicate, feathery appearance lies a persistent challenge for home gardeners. Many plant enthusiasts purchase this specimen expecting the straightforward routine of a pothos, only to find themselves sweeping up a daily trail of shedding needles, watching stems turn yellow overnight, or struggling to figure out why their plant is sulking despite constant attention.
If you have ever found yourself staring at a thinning, stressed plant, wondering where your care routine went wrong, you are far from alone. The central issue isn’t that the plant is fragile; rather, it is widely misunderstood. Despite its delicate common name, this species is not a true fern at all.
Throughout my years of cultivating, troubleshooting, and propagation work with exotic indoor flora, I have found that mastering this plant comes down to understanding its true botanical identity and native roots. Native to the semi-arid regions of South Africa, it carries hidden adaptations—such as specialized underground tubers—that dictate its watering, lighting, and humidity needs.
This comprehensive guide serves as your complete care blueprint. By understanding its physiological traits, balancing light and soil moisture, preventing needle shedding, and learning professional pruning techniques, you will be equipped to keep your plant thriving, lush, and shed-free for years to come.
II. Fast-Facts Sheet
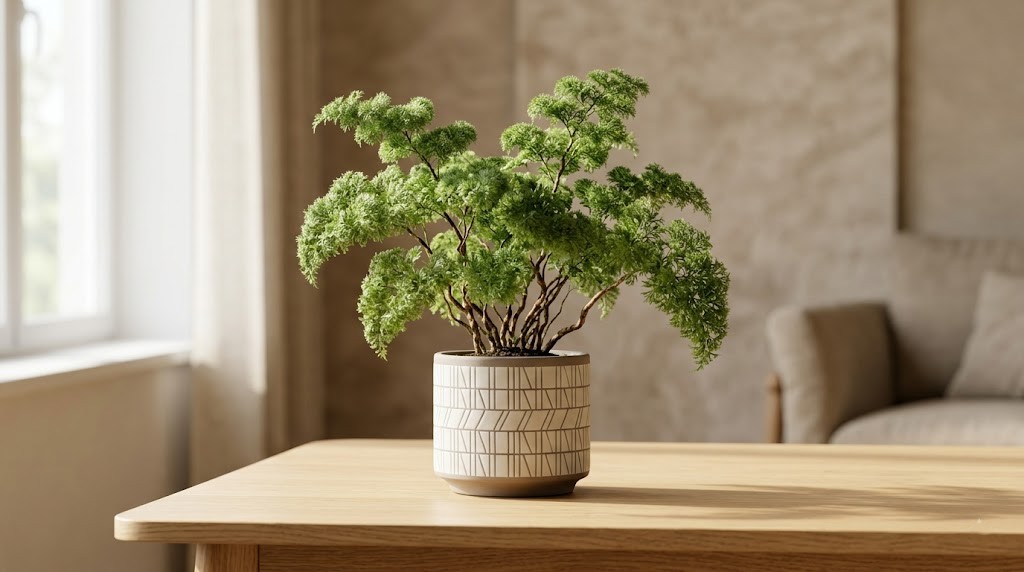
Understanding the core profile of your plant provides the immediate foundation required for success. Here is a quick breakdown of its botanical characteristics:
-
Botanical Name: Asparagus retrofractus (often categorized under the synonym Asparagus macowanii)
-
Common Names: Ming Fern, Zigzag Asparagus Fern, Pom-Pom Asparagus Fern
-
Plant Family: Asparagaceae (Asparagus family)
-
Native Habitat: Arid, rocky, and scrubland areas of South Africa
-
Light Exposure: Bright, indirect light; tolerates gentle morning sunlight
-
Watering Needs: Allow the top 1 to 2 inches of soil to dry out between waterings; avoid soggy roots
-
Humidity: Prefers medium to high humidity (50% or higher)
-
Ideal Temperature: 65°F to 85°F (18°C to 29°C); protect from frost
-
Soil Type: Well-draining potting mixture rich in organic matter
-
Toxicity Level: Toxic to cats, dogs, and horses if ingested; sap may cause mild skin irritation
III. Understanding the Botanical Identity
To properly care for a plant, one must first understand what it actually is. Labeling this plant as a “fern” is one of the most widespread misconceptions in the indoor gardening community, and this misnomer leads to thousands of dead plants every year.
Cladodes vs. True Leaves
If you inspect the “needles” of your plant closely, you aren’t looking at foliage in the traditional sense. Botanical science classifies these small, green needle-like structures as cladodes—flattened, modified stem segments that perform photosynthesis on behalf of the plant. True leaves on this species are actually reduced to tiny, scale-like structures or subtle spiny spurs located along the mature, woody stems.
This evolutionary adaptation allows the plant to reduce surface area and minimize transpiration (water loss), a crucial trait developed in its native South African habitat. When growers treat this species like a tropical, water-loving Boston Fern or Maidenhair Fern, overwatering quickly sets in, suffocating the root system.
The Underground Tuberous Network
Beneath the potting medium, the plant develops an extensive system of fleshy, bulbous root tubers alongside fibrous roots. These tubers act as miniature subterranean water reservoirs, storing moisture and essential nutrients to survive periods of drought in the wild.
Understanding these subterranean tubers shifts your care philosophy completely:
-
The plant can tolerate short periods of dry soil far better than constant saturation.
-
Persistent soggy soil rots these tubers quickly, causing widespread yellowing above ground.
-
When repotting, these tubers should never be forcibly removed, as they anchor and feed the main stem clusters.
Architectural Growth Habit
Unlike sprawling or cascading houseplants, this species develops stiff, woody, woody-like canes that naturally branch in an erratic, angled “zigzag” pattern. Terminating each woody branch are dense clusters of fine green cladodes, giving the plant its distinct “pom-pom” or architectural bonsai silhouette. Because it naturally mimics a sculpted tree, it serves as a stunning focal point on tables, desks, and plant stands.
IV. Optimal Growing Conditions
Achieving consistent, lush growth requires matching your indoor environment to the conditions the plant adapted to over thousands of years.
1. Light Requirements: Finding the Sweet Spot
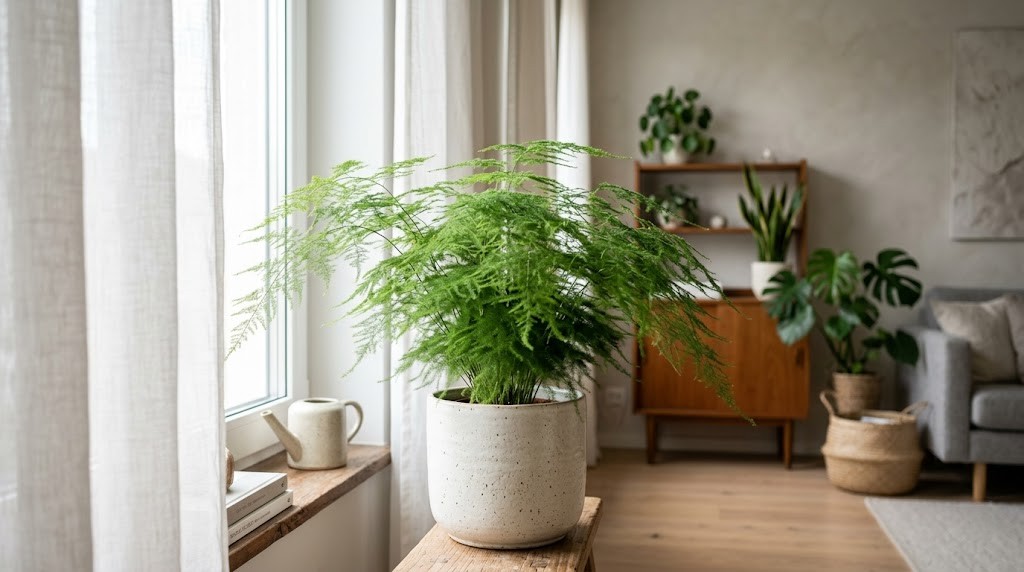
Light is the primary engine driving foliage density and cladode retention.
-
Ideal Exposure: Place your plant in an area that receives bright, indirect sunlight for 6 to 8 hours daily. An East-facing window sill is ideal, offering gentle morning sun followed by bright ambient light throughout the day. South- or West-facing rooms are also excellent, provided the plant is positioned a few feet back from the glass or shielded by sheer curtains.
-
Direct Sun Risks: While it appreciates high light levels, harsh, unfiltered midday sunlight will scorch the fine cladodes. Bleached, straw-colored patches or widespread needle dropping are clear indicators that your plant is burning.
-
Low Light Symptoms: In insufficient light, the plant attempts to stretch toward the nearest light source, leading to weak, spindly, “leggy” canes with sparse pom-poms. Low light also slows water evaporation from the soil, drastically increasing the risk of root rot.
-
Supplemental Lighting: If natural light in your home is limited, position a full-spectrum LED grow light 12 to 18 inches above the crown for 12 hours a day to maintain dense, compact growth.
2. Watering Routine: Hydration Without Rot
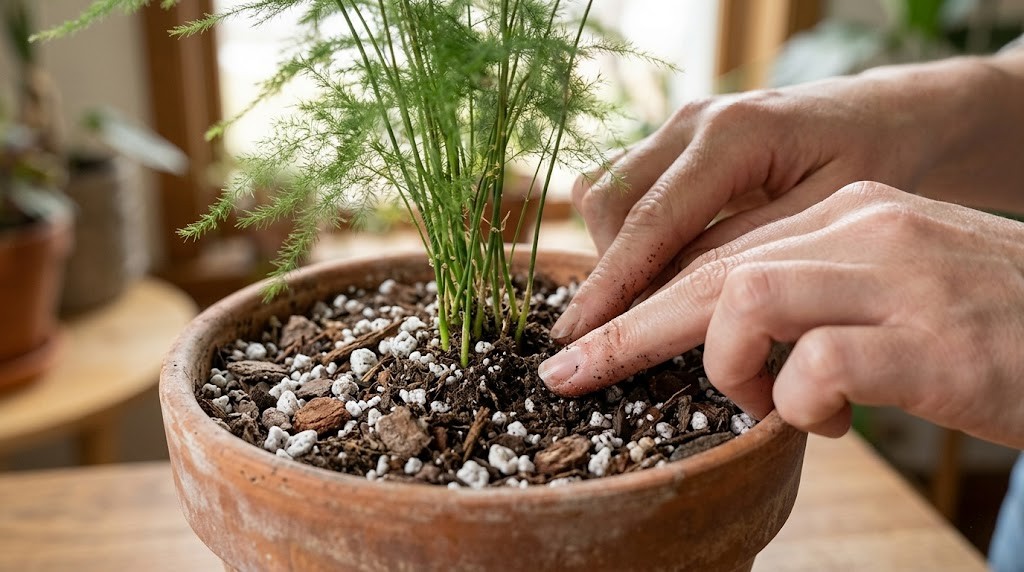
Watering is where most growers run into trouble. The key is maintaining a consistent cycle of hydration followed by partial drying.
-
The Golden Rule: Water thoroughly when the top 1 to 2 inches of soil feel dry to the touch. Pour water evenly across the surface until it streams freely from the bottom drainage holes, ensuring the entire root ball is saturated.
-
Discard Standing Water: Never let the container sit in a saucer full of runoff water. Allowing the roots to soak in stagnant water starves them of oxygen, leading to tuber decay and sudden foliage decline.
-
Seasonal Adjustments: During the active growing months of spring and summer, the plant consumes water quickly and may require hydration every 5 to 7 days. In fall and winter, growth slows dramatically; reduce watering frequency, allowing the soil to dry out slightly deeper before applying moisture.
-
Water Quality: While generally resilient, high levels of fluoride or chlorine in municipal tap water can cause tip-burn. Using room-temperature filtered water or rainwater encourages healthier root development.
3. Humidity & Temperature Needs
Hailing from warm environments, this plant thrives when kept within comfortable, warm household temperatures.
-
Temperature Range: Maintain temperatures between 65°F and 85°F (18°C to 29°C). It can tolerate brief drops down to 50°F (10°C), but cold drafts from leaky windows, doors, or air conditioning vents will trigger stress and needle drop.
-
Humidity Target: Aim for an ambient relative humidity of 50% or higher. While it tolerates standard indoor humidity (around 30-40%) better than true ferns, dry indoor air during winter heating seasons causes tips to dry out and drop.
-
Raising Humidity: Misting the fine foliage is largely ineffective as it only increases ambient humidity for a few minutes. Instead, place the pot on a tray filled with pebbles and water (ensuring the base of the pot rests above the water line), group it alongside other foliage plants, or run a cool-mist ultrasonic humidifier nearby.
4. Soil & Potting Mix Selection
Aeration and drainage are non-negotiable for tuberous root systems. Heavy, moisture-retaining garden soils will quickly suffocate the plant.
-
Ideal Recipe: Combine 2 parts high-quality potting soil, 1 part coco coir or peat moss (for light moisture retention), and 1 part coarse perlite or pumice (for rapid drainage and root aeration). Incorporating a handful of pine bark fine chips further enhances airflow around the tuber network.
-
Soil pH: Aim for a slightly acidic to neutral pH range of 6.0 to 7.0.
-
Container Selection: Always select containers with generous drainage openings. Terracotta pots are exceptional for this plant because their porous clay walls allow moisture to evaporate through the sides, preventing soil saturation.
V. Feeding & Fertilization Strategy
Because the plant produces dense, woody canes and continuous fine foliage clusters, it requires a steady supply of nutrients during its active growth period.
-
Nutrient Ratio: Use a balanced, water-soluble liquid fertilizer with an equal N-P-K ratio, such as 10-10-10 or 20-20-20. Nitrogen promotes lush green cladodes, while phosphorus and potassium support strong tuber development and structural stem stability.
-
Application Frequency: Feed every 4 weeks from early spring through late summer.
-
Dilution Rate: Always dilute the fertilizer to half strength of the manufacturer’s recommended dose. The delicate root hairs and cladodes can experience chemical burns if fed full-strength fertilizers.
-
Dormancy Pause: Cease all fertilization during late autumn and winter. Applying nutrients when the plant is resting can result in mineral salt buildup in the soil, damaging the roots.
-
Soil Flushing: Once every 3 to 4 months, flush the potting medium by pouring generous amounts of clear water through the pot for a couple of minutes to wash away excess fertilizer salts.
VI. Pruning, Shaping, and Bonsai Styling
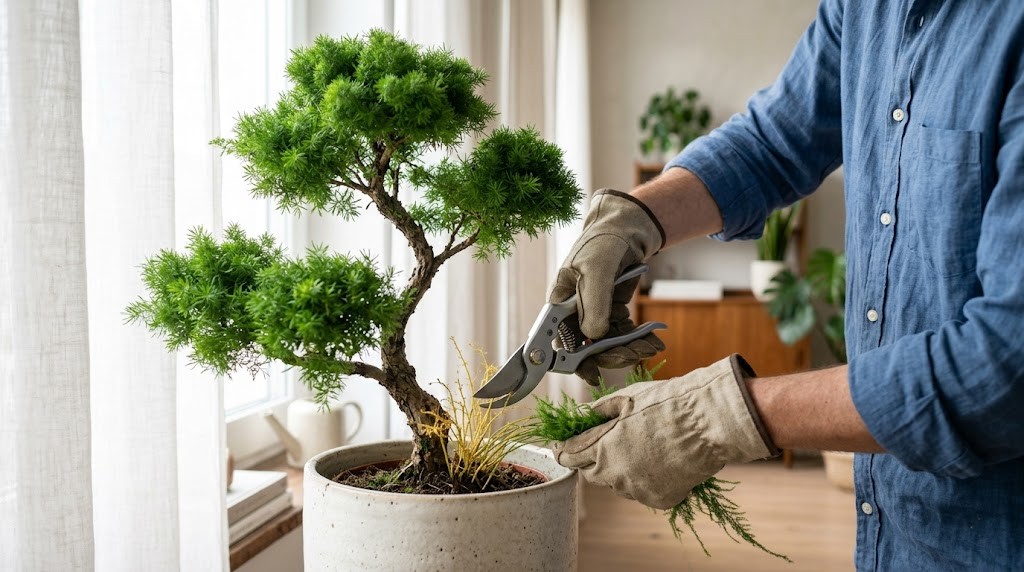
Pruning is essential for maintaining the shape and health of your plant. Left untouched, stems can become chaotic, leggy, or overcrowded, blocking light from reaching inner branches.
Why Pruning is Essential
Unlike many houseplants that simply branch out wherever you clip them, this species produces growth from both the base of the plant (new shoots) and along existing woody canes. Strategic pruning encourages dense pom-pom tufting, removes spent foliage, and maintains a clean, sculpted silhouette.
Step-by-Step Pruning Process
-
Sanitize Your Tools: Clean small bypass pruning shears or sharp scissors with rubbing alcohol to prevent spreading pathogens.
-
Remove Dead or Yellowing Canes: Trace yellowed, dry, or leafless woody stems down to the soil line and cut them off clean at the base.
-
Thin Out Overcrowded Centers: Trim away small, weak inner stems that obstruct airflow and sunlight.
-
Shape the Canopy: To control height or spread, prune woody stems back to just above a node or lateral branch point.
-
Tip-Pinching for Density: Lightly pinch back the green growth tips on mature pom-poms to stimulate tighter, bushier tufts.
Bonsai Styling Potential
Thanks to its thick, woody main stems and sculpted habit, this plant is a prime candidate for indoor bonsai creation. By selectively trimming lower branches, exposing the upper root crown slightly during repotting, and displaying the plant in a shallow ceramic bonsai dish, you can craft a striking miniature landscape feature that requires a fraction of the maintenance of a traditional tree species.
VII. Repotting and Propagation Guide
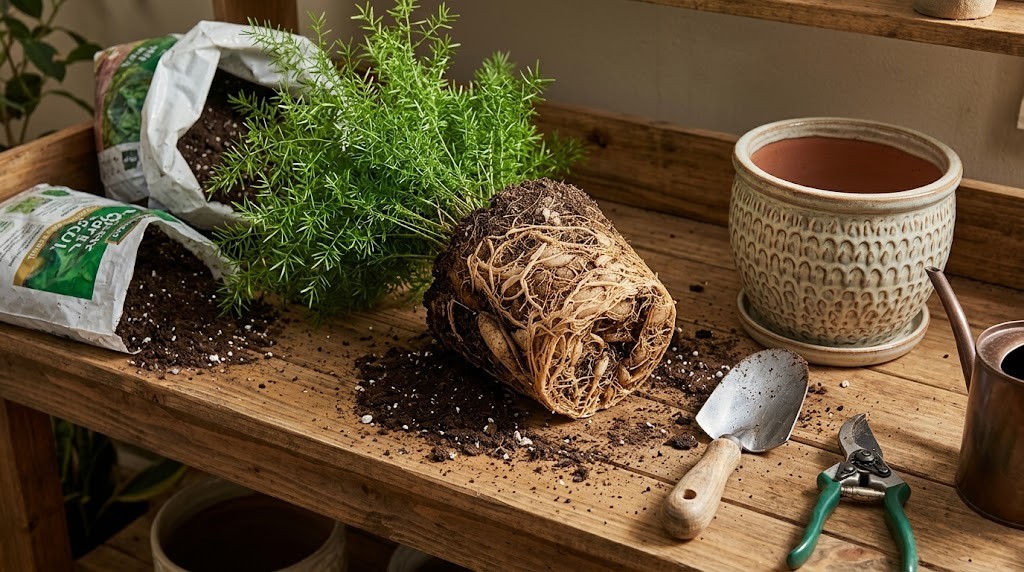
As your plant matures, its expanding tuberous root system will eventually fill the container, displacing soil and limiting growth. Knowing when and how to repot or propagate ensures long-term vigor.
How to Repot a Root-Bound Plant
This species grows at a moderate pace, typically requiring a new pot every 2 to 3 years in early spring, just as active growth resumes.
-
Signs It Needs Repotting: You may notice swollen root tubers pushing through the soil surface or drainage holes, water draining out immediately without absorbing, or growth slowing down despite optimal light and fertilizer.
-
Choosing the Right Pot: Select a new pot that is 1 to 2 inches larger in diameter than the current one. Avoid oversizing the container, as excess soil holds too much water, increasing the risk of root rot.
-
Repotting Procedure:
-
Water the plant thoroughly 24 hours before repotting to hydrate the roots and ease extraction.
-
Gently slide the root ball out of its container while supporting the base of the stems.
-
Carefully tease apart tightly bound roots along the bottom, taking care not to puncture or tear the fleshy storage tubers.
-
Place a fresh layer of your well-draining soil mix in the bottom of the new pot.
-
Center the root ball, ensuring the plant sits at the exact same depth as it was originally growing.
-
Fill the remaining space with soil, firming it gently around the base.
-
Water thoroughly until liquid drains from the bottom, then return the plant to its normal light location.
-
Propagating via Root Division
Unlike many houseplants, stem cuttings taken from this species will not root in water or soil. Because growth originates from the tuberous crown, propagation must be done through root division.
-
Best Time: Perform divisions in early spring during your routine repotting session.
-
Step-by-Step Division Walkthrough:
-
Unpot the mature plant and gently shake off excess soil to expose the central root mass and tuber clusters.
-
Identify natural clusters of stems that possess their own individual roots and attached tubers.
-
Using a sharp, sterilized knife, slice cleanly through the central crown to separate the plant into two or three distinct sections. Ensure each division retains several healthy canes and a strong cluster of tubers.
-
Pot each section into its own small container filled with fresh, well-draining potting mixture.
-
Keep the newly divided plants in a warm, humid location with bright, indirect light. Keep the soil lightly moist (never soggy) for 3 to 4 weeks until the root system settles and new growth emerges.
-
VIII. Troubleshooting Common Ming Fern Problems
Even under good care, your plant may show signs of stress. Diagnosing problems early allows you to correct environmental issues before lasting damage occurs.
1. Excessive Needle Drop (Foliage Shedding)
-
The Cause: Rapid shedding of green cladodes is the single most common complaint among growers. It is almost always caused by a sudden shock to the plant’s environment—such as a shift in light levels, exposure to cold drafts, extreme soil dryness, or abrupt changes in humidity.
-
The Solution: Stabilize the plant’s environment. Avoid moving it frequently from room to room. Keep it away from air vents and drafty windows, and establish a consistent watering schedule where the soil never dries out completely to the bottom of the pot.
2. Yellowing Cladodes (Foliage)
-
The Cause: Widespread yellowing across entire branches typically indicates overwatering and poor drainage, which suffocates the roots. Alternatively, prolonged exposure to harsh, direct sunlight can bleach and turn the foliage yellow.
-
The Solution: Check the soil moisture immediately. If the medium feels saturated, pause watering and verify that drainage holes are clear. Inspect the tuber system for signs of soft, brown rot. If necessary, trim away damaged tubers and repot into fresh, dry soil mix. If light levels are too intense, move the plant back a few feet from the window.
3. Brown, Crispy Foliage
-
The Cause: Dry, brittle, brown tips or entire dead branches point toward prolonged underwatering, severely low air humidity, or an accumulation of fertilizer salts in the soil.
-
The Solution: Prune away dead, crispy branches down to the soil line. Give the soil a thorough soaking until water flows freely from the drainage holes. Increase room humidity using a pebble tray or humidifier, and flush the soil with distilled water to leach out excess mineral salts.
4. Pest Management
This plant is relatively pest-resistant, but indoor specimens can occasionally host common plant pests when grown in warm, dry conditions.
-
Spider Mites: Tiny, webbing-producing pests that thrive in dry air. They cause yellow speckling across the fine needles.
-
Treatment: Increase humidity, shower the foliage with room-temperature water to rinse off pests, and apply insecticidal soap or diluted neem oil thoroughly every 7 days until clear.
-
-
Mealybugs & Scale: Appear as white, cottony spots or raised, waxy bumps along the woody stems.
-
Treatment: Dab individual pests with a cotton swab dipped in 70% isopropyl alcohol. For larger infestations, spray the entire plant with horticultural oil or insecticidal soap, ensuring complete coverage of the branching angles.
-
IX. Toxicity and Pet Safety Warning
While this plant makes an attractive indoor accent, pet owners must exercise caution.
-
Sapogenin Toxicity: Like other members of the Asparagus genus, this plant contains toxic compounds known as sapogenins. If cats, dogs, or horses ingest the foliage or berries, it can cause gastrointestinal distress, including vomiting, diarrhea, abdominal pain, and drooling.
-
Contact Dermatitis: The sap inside stems and leaves, as well as small sharp spurs along mature canes, can cause skin irritation or redness upon contact. Wear gloves when pruning or repotting if you have sensitive skin.
-
Safety Placement: Position your plant on high shelves, plant stands, or hanging displays well out of reach of curious pets and small children.
X. Frequently Asked Questions (FAQ)
Is a Ming Fern easy to care for compared to other asparagus ferns?
Yes, it is generally sturdier than the delicate Plumosa Fern (Asparagus setaceus) or Foxtail Fern (Asparagus densiflorus). Its thick, woody stems and substantial underground storage tubers make it more forgiving of short periods of drought, though it still requires bright light and moderate humidity to look its best.
Why is my plant dropping needles even though I water it regularly?
Needle drop is frequently triggered by low light, low humidity, or sudden atmospheric changes rather than watering alone. If your watering routine is solid, check for cold drafts, air conditioning airflow, or insufficient light levels.
Can I grow this plant outdoors year-round?
You can grow it outdoors year-round only if you reside in USDA Hardiness Zones 9b through 11, where winter temperatures remain consistently above freezing. In cooler climates, grow it as a houseplant or move it outdoors to a shaded patio during spring and summer, bringing it inside before temperatures fall below 50°F (10°C).
Does this plant produce flowers or berries?
Under high light conditions—especially when grown outdoors—mature plants can produce small, fragrant, white to pale-pink flowers in summer. These blooms are followed by small, round berries that ripen to a dark red or purple color. Indoors, flowering is rare due to lower light levels.
How fast does it grow indoors?
Growth rate depends directly on light exposure and temperature. Under bright, warm conditions, it grows at a moderate pace, pushing up new shoots from the root crown that rapidly expand into full, bushy canes within a single growing season.
XI. Conclusion
Cultivating a healthy Ming Fern comes down to looking past its deceptive common name and respecting its true botanical origins. By recognizing that this South African plant relies on underground storage tubers, you can easily avoid the common traps of overwatering, poor drainage, and low-light placements that cause so many specimens to fail.
Provide your plant with bright, indirect light, a well-draining soil mix, and consistent moisture, and it will reward you with dense, cloud-like clusters of foliage and architectural style. Whether styled as an indoor tree, trained as a low-maintenance bonsai, or showcased on a bright plant stand, its unique character makes it a standout addition to any houseplant collection.