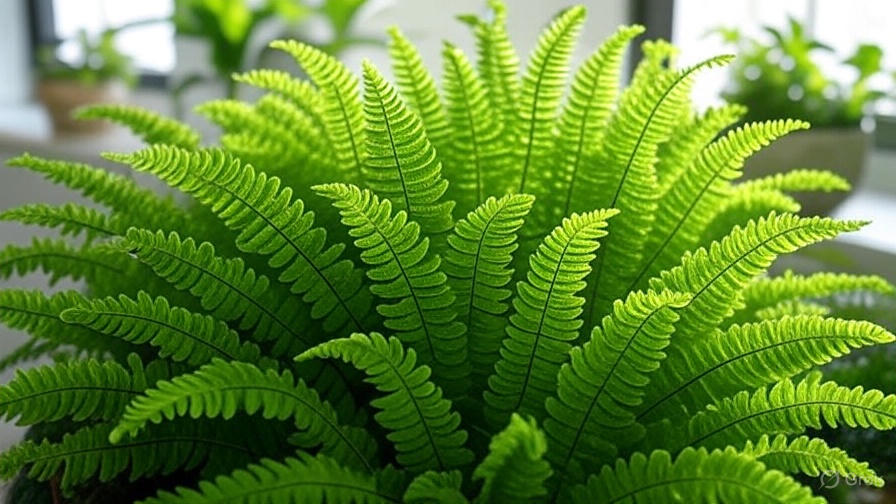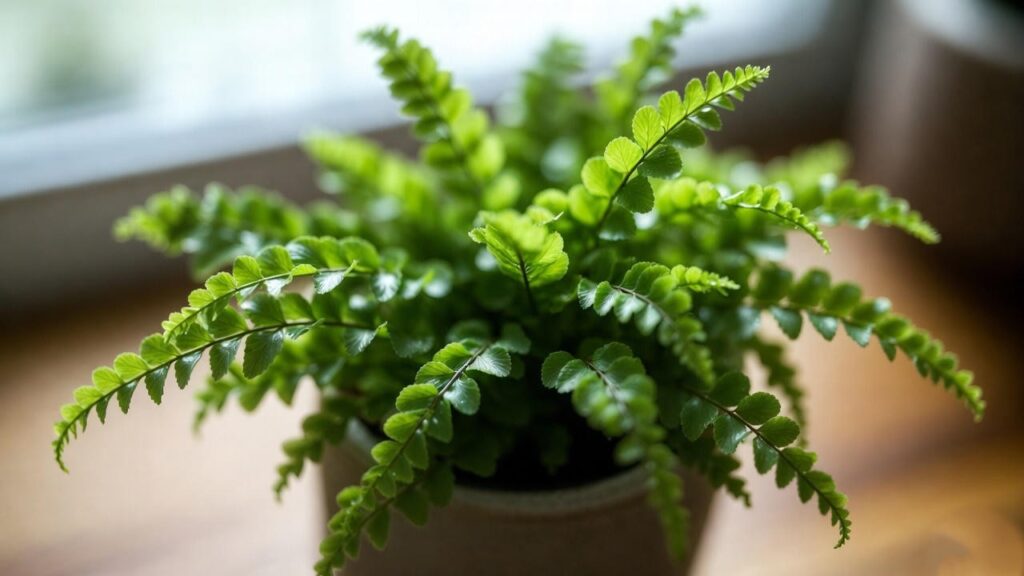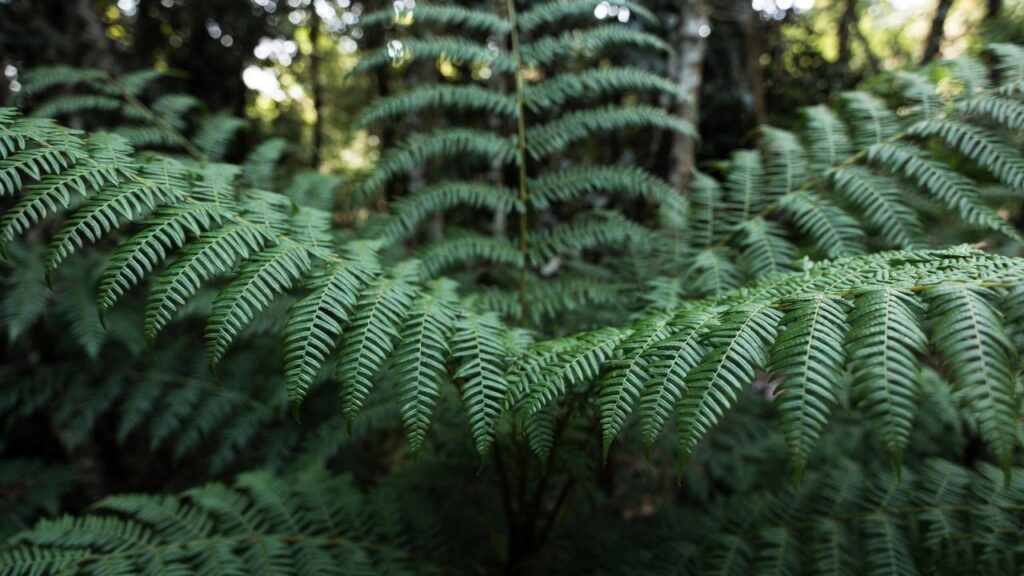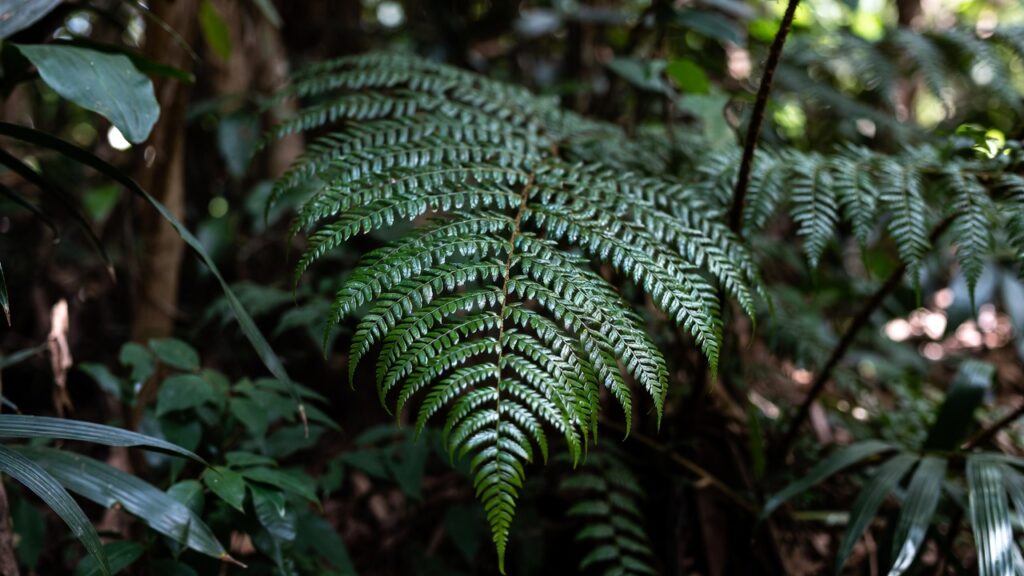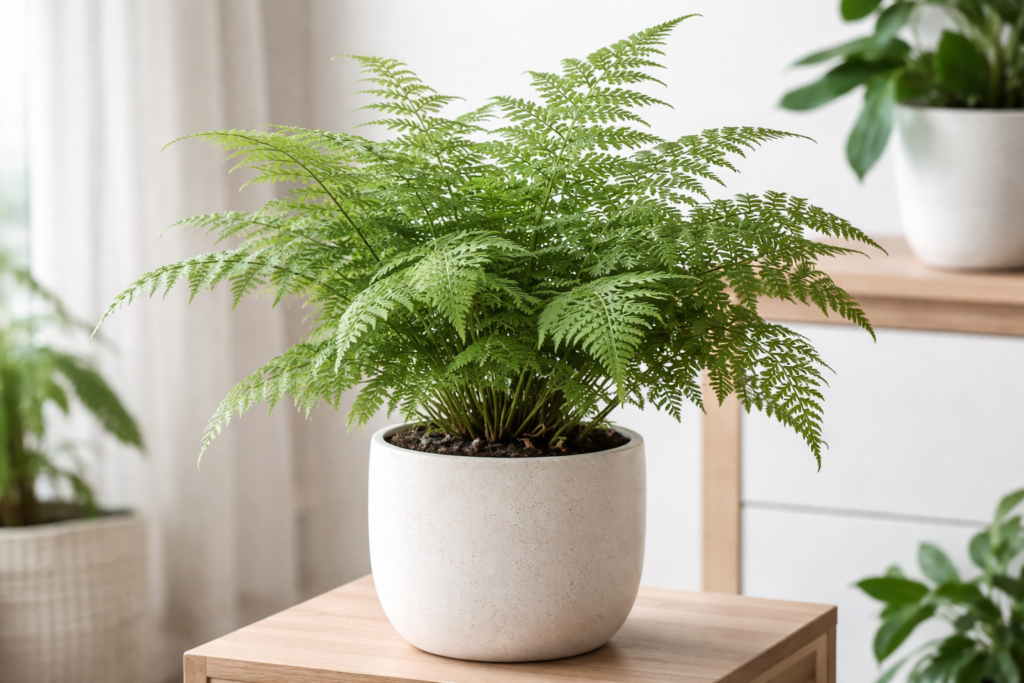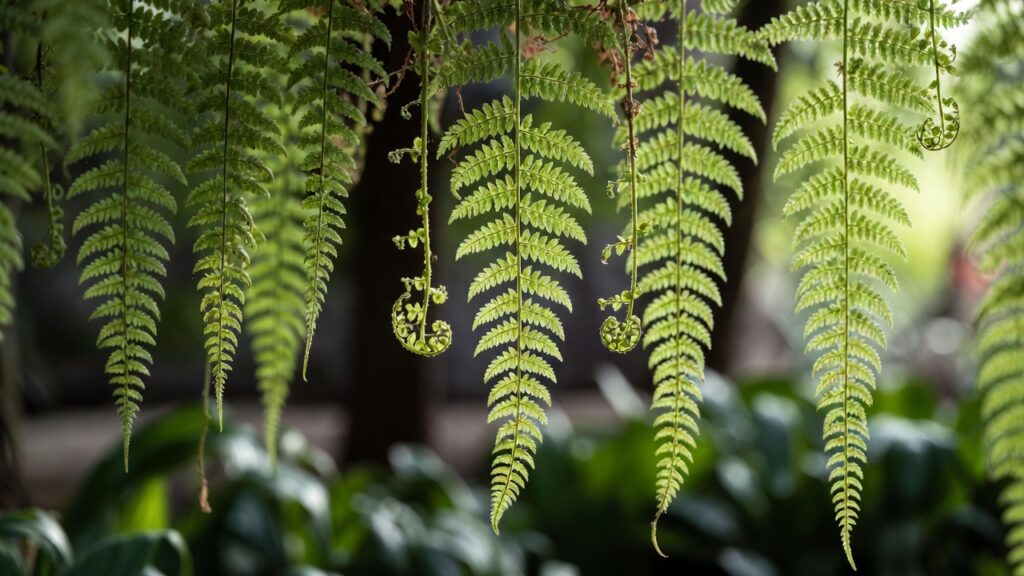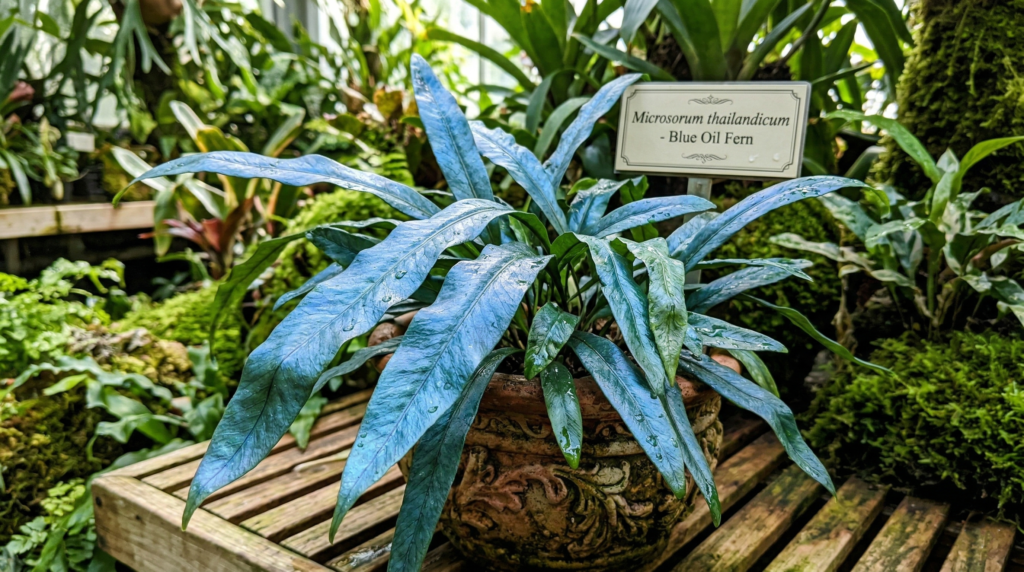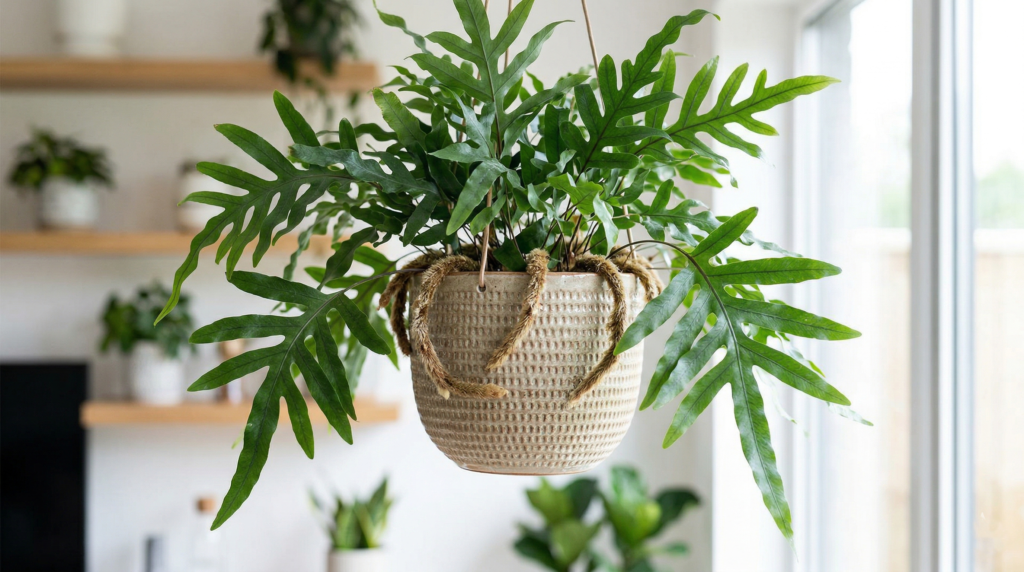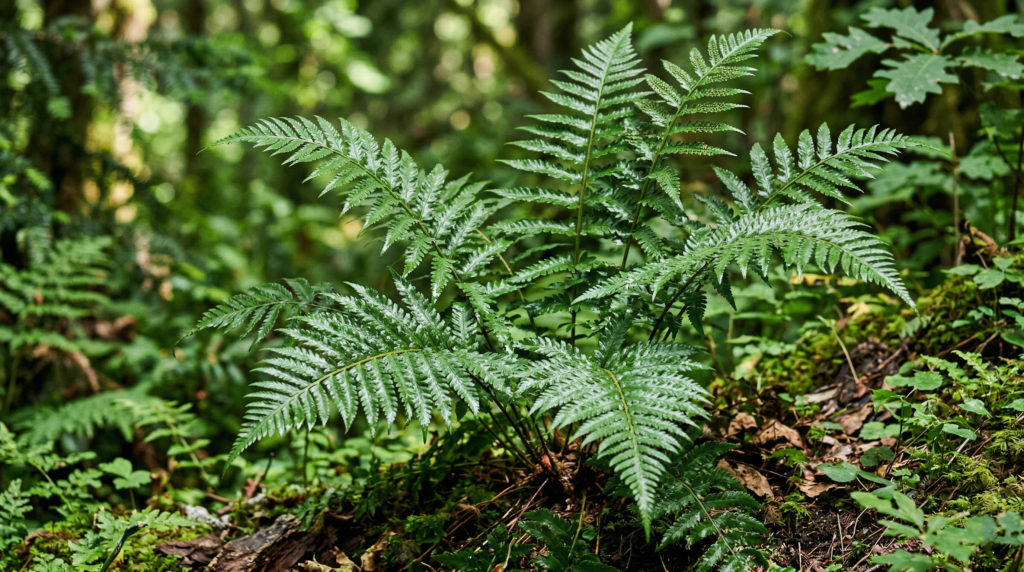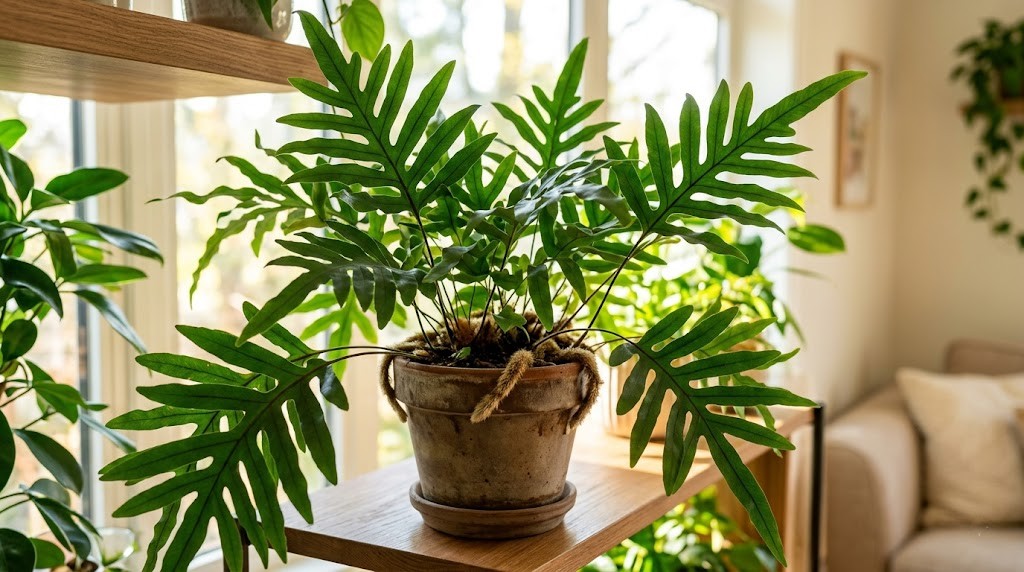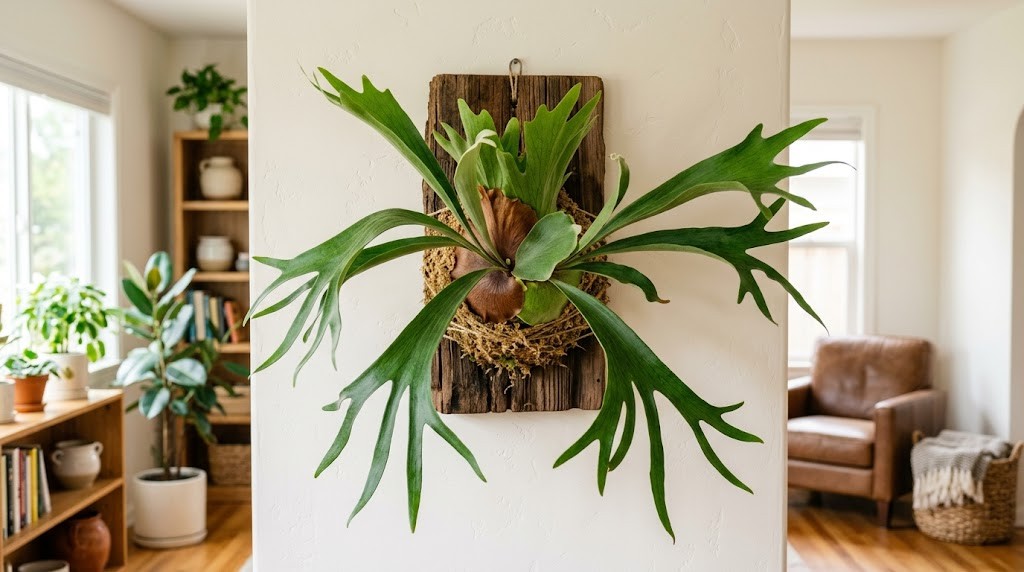

Few indoor plants match the vibrant, architectural beauty of kimberly ferns. With their bold, arching fronds and rich green pinnae, these Australian natives bring a touch of the tropics straight into your home. Yet, for many plant enthusiasts, keeping ferns healthy indoors can feel like an endless battle against crispy brown tips, dropping leaves, and sudden dieback. Fortunately, the Kimberly Queen fern (Nephrolepis obliterata) is far more resilient than its notoriously fussy relatives. With the right care strategy, you can enjoy lush, full foliage every month of the year.
Quick Reference Care Guide
-
Scientific Name: Nephrolepis obliterata
-
Common Names: Kimberly Queen Fern, Australian Sword Fern
-
Light: Medium to bright indirect light; tolerates morning sun
-
Watering: Keep soil consistently moist; water when the top 1 inch feels dry
-
Humidity: Ideal range is 40% to 60%; tolerates average home air better than Boston ferns
-
Temperature: 65°F to 75°F (18°C to 24°C); protect from cold drafts below 55°F (13°C)
-
Soil: Rich, aerated potting mix with peat moss or coco coir and perlite
-
Fertilizer: Balanced liquid houseplant fertilizer diluted to half-strength monthly during spring and summer
-
Toxicity: Non-toxic to cats, dogs, and horses (ASPCA confirmed)
The Science of Nephrolepis obliterata: Built for Indoor Resilience
Understanding where your houseplant comes from is the single best way to master its care. The Kimberly Queen fern is native to the rainforest margins, open forests, and wet scrublands of Australia and New Guinea. Unlike interior rainforest ferns that rely on perpetual dark shade and near-100% humidity, Nephrolepis obliterata adapted to handle changing light conditions and periods of drier air.
Natural Adaptations That Help It Thrive Indoors
Three distinct structural adaptations set this species apart from other indoor foliage plants:
-
Thicker Leaf Cuticles: The individual leaflets (pinnae) feature a waxy outer cuticle. This layer significantly reduces moisture loss through transpiration, making the foliage resistant to ambient indoor air dryness.
-
Dense, Tuberous Rhizomes: Below the soil surface, Kimberly ferns produce sturdy subterranean rhizomes. These creeping structures store essential water and carbohydrate reserves, giving the plant a built-in safety net during short periods of underwatering.
-
Upright Structural Stems: Rather than weeping downward in loose fronds, the fronds extend upward in a clean, vertical sword-like shape. This upright growth habit maximizes light interception in low-light environments while helping the foliage shed excess debris.
Kimberly Queen Fern vs. Boston Fern: A Side-by-Side Comparison
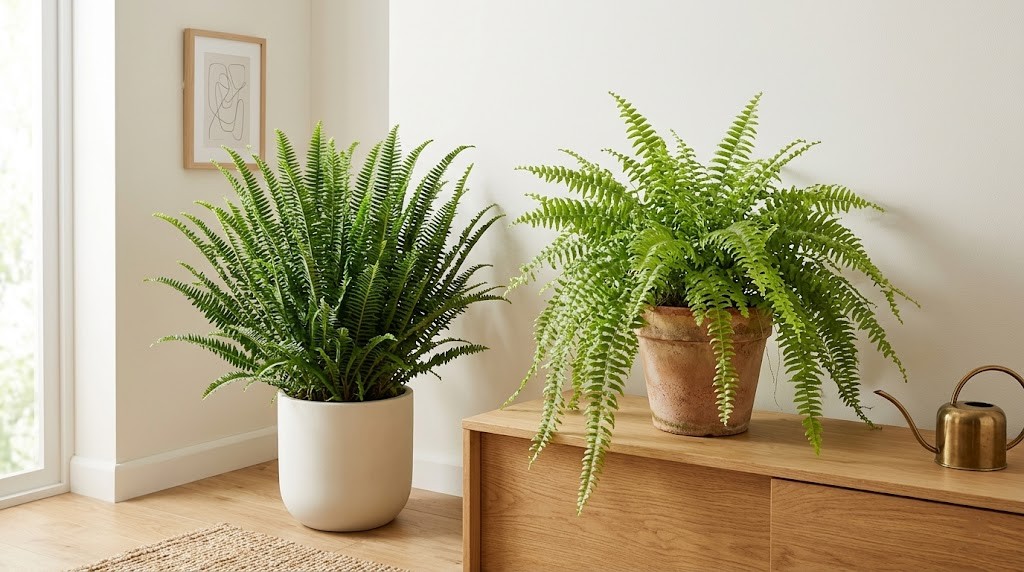
Many indoor plant growers mistake the Kimberly Queen fern for its close relative, the Boston fern (Nephrolepis exaltata). While they belong to the same genus, their performance in a residential living space is vastly different.
-
Growth Habit: The Kimberly fern grows rigid, upright, sword-like fronds that reach 2 to 3 feet in height. The Boston fern produces soft, weeping fronds that cascade outward and downward.
-
Leaf Shedding: Kimberly ferns retain their pinnae extremely well, resulting in minimal mess on tables or floors. Boston ferns shed dry leaflets quickly whenever humidity drops or light shifts.
-
Humidity Tolerance: Kimberly ferns perform exceptionally well in standard indoor humidity levels between 40% and 50%. Boston ferns often require consistent levels above 60% to avoid severe browning.
-
Light Adaptability: Kimberly ferns handle medium to bright indirect sunlight and even mild direct morning light. Boston ferns scorch easily when exposed to direct sun rays.
-
Overall Maintenance: The Kimberly fern is low-to-medium maintenance, making it ideal for beginners. The Boston fern demands high maintenance and precise climate control.
Perfecting Light for Upright, Vibrant Fronds
Light fuels every metabolic process inside your fern, from chlorophyll production to root extension. Because Nephrolepis obliterata features thicker fronds than delicate maidenhair ferns, it requires slightly more light to maintain its sturdy growth structure.
Ideal Window Orientations

To keep your plant looking full and deep green, place it where it receives bright, indirect sunlight for 6 to 8 hours daily.
-
East-Facing Windows: This is the absolute best position for a Kimberly fern. The soft morning sunlight provides energy without generating intense heat, while bright indirect light fills the space for the rest of the day.
-
North-Facing Windows: North light is gentle and consistent, but it can sometimes prove too low during winter months. If your fern sits near a north window, place it right against the glass to maximize light absorption.
-
South or West-Facing Windows: These windows provide intense, direct afternoon sun that can scorch delicate pinnae. Set the plant back 3 to 5 feet from the window frame, or diffuse the light using sheer curtains.
Measuring Light: Foot-Candle Targets
If you use a digital light meter or a smartphone light app, aim for the following ranges:
-
Optimal Range: 800 to 2,000 foot-candles (approx. 8,600 to 21,500 lux) for rapid, compact growth.
-
Minimum Threshold: 300 foot-candles. Below this level, the plant survives but stops producing fresh, new fronds.
Diagnosing Light Missteps
-
Too Much Direct Light: Leaflets turn pale yellow, develop dry white or paper-brown scorch patches, and lose their rich green color.
-
Too Little Light: The plant produces long, leggy fronds that droop outward searching for light. The center of the crown thins out, and overall growth slows down completely.
Master Class in Watering Kimberly Ferns
Improper watering causes more indoor plant failures than pests, diseases, and lighting issues combined. Achieving lush green fronds requires balancing moisture retention with root zone aeration.
The “Damp Sponge” Moisture Target
The ideal soil environment for a Kimberly fern should feel like a well-wrung-out sponge—consistently damp to the touch, cool, and soft, but never soggy or standing in water.
Allow the top 1 inch of soil to dry out slightly between waterings. Insert your index finger into the potting medium up to the first knuckle. If the soil feels dry, warm, and dusty at that depth, it is time to water thoroughly. If you detect cool moisture or soil particles cling to your finger, wait 24 to 48 hours and check again.
Water Quality and Tap Water Sensitivity
Municipal tap water often contains dissolved minerals, fluoride, chlorine, and chloramines. While Kimberly ferns tolerate tap water better than calatheas or prayer plants, excessive mineral accumulation can cause leaf margins to turn brown.
-
Hard Water Deposits: High concentrations of calcium and magnesium build up around the root system, raising soil pH and blocking nutrient absorption.
-
Fluoride and Chlorine Damage: These chemicals accumulate in the leaf tips through the plant’s vascular system, causing necrotic brown edges.
Pro Tip: If your local tap water is heavily chlorinated or hard, use filtered water, collected rainwater, or distilled water. Alternatively, let tap water sit in an open container for 24 hours to allow chlorine gas to dissipate before using it on your plants.
Seasonal Watering Cadence
Your plant’s water intake shifts significantly throughout the calendar year:
-
Spring and Summer (Active Growth): High temperatures and longer daylight hours cause fast soil evaporation and active root uptake. Water every 4 to 7 days, saturating the potting mix until water drains freely from the bottom drainage holes. Always empty standing water from the saucer within 20 minutes.
-
Fall and Winter (Dormancy): Cooler indoor temperatures and shorter daylight hours slow down growth. Water every 10 to 14 days, checking the soil depth carefully to prevent saturated conditions that trigger root rot.
Humidity and Temperature Optimization
While Nephrolepis obliterata handles dry indoor air better than most ferns, keeping relative humidity within its comfort zone ensures the plant remains free of dry, crispy leaf margins.
Managing Relative Humidity (40% to 60%)
Standard home humidity levels often hover between 30% and 40%, dropping even lower during winter when heating systems run continuously. When relative humidity dips below 35%, transpiration speeds up, pulling water out of the fronds faster than the roots can supply it.
4 Proven Methods to Elevate Humidity

-
Use a Cool-Mist Room Humidifier: Placing a small humidifier 3 to 4 feet away from your fern is the most effective way to maintain a steady microclimate of 50% to 60% relative humidity.
-
Create a Humidity Tray: Fill a shallow tray or saucer with smooth river stones or pea gravel, then pour water in until it rests just below the top of the pebbles. Set your potted fern on top of the stones. As the water evaporates around the pot, it raises humidity around the foliage without soaking the roots.
-
Group Companion Plants: Grouping tropical plants like Pothos, Peace Lilies, and Philodendrons together creates an isolated microclimate. As each plant transpires moisture through its leaves, the surrounding air stays naturally humid.
-
Choose High-Humidity Rooms: Bathrooms and kitchens with natural window light provide naturally higher humidity levels from showers, sinks, and running water.
Temperature Thresholds and Draft Prevention
Kimberly ferns prefer steady, warm indoor conditions:
-
Ideal Range: 65°F to 75°F (18°C to 24°C).
-
Safe Minimum Temperature: 55°F (13°C). Cold temperatures below this point cause leaf discoloration and slow growth.
-
Draft Hazards: Keep your fern away from cold window glass during winter, exterior doors, air conditioning vents, and heat radiators. Sudden temperature swings cause fronds to drop prematurely.
Soil Mechanics, Potting, and Repotting
Healthy roots mean healthy fronds. Because Kimberly ferns grow dense root systems and creeping underground rhizomes, they need a well-aerated potting mix that retains moisture without compacting over time.
Custom Aerated Soil Mix Recipe
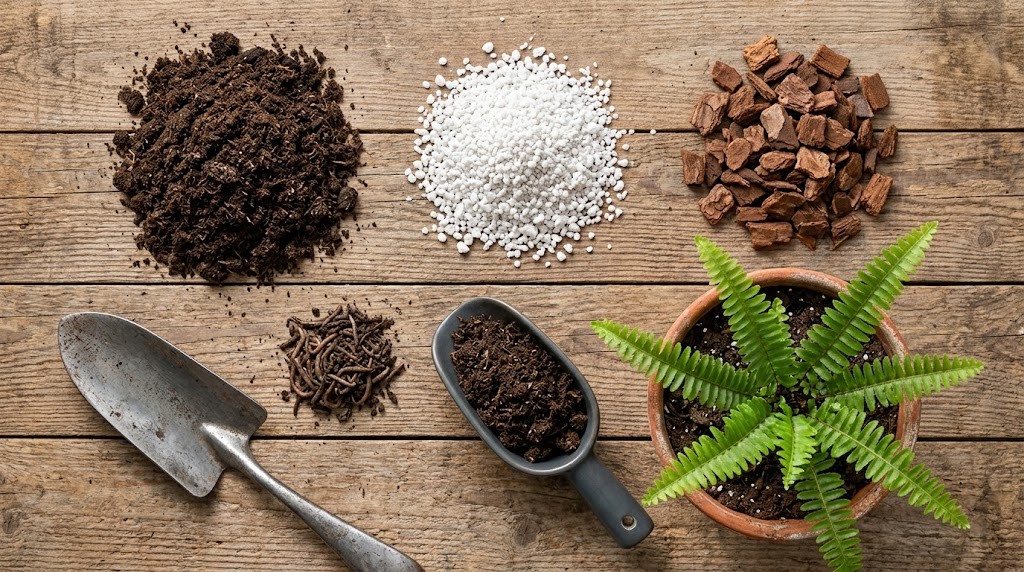
Standard garden soil or dense potting soil retains too much water, suffocating root systems and causing root rot. Create a custom, high-performance indoor potting mix using this balanced formula:
-
40% Premium Peat Moss or Coco Coir: Provides moisture retention and a light, soft texture.
-
30% Standard Quality Potting Soil: Supplies organic matter and structural support.
-
20% Coarse Perlite or Pumice: Ensures maximum aeration and fast drainage throughout the pot.
-
10% Fine Orchid Bark: Prevents soil compaction and allows underground rhizomes to spread naturally.
Selecting the Right Container
Choose a container with at least one drainage hole at the bottom. Because the Kimberly Queen fern grows from a wide central crown, broad, shallow pots or wide-rimmed containers support its natural shape better than deep, narrow pots.
-
Terracotta Pots: Porous clay allows air movement through the pot walls, helping soil dry out evenly. Ideal for growers who tend to overwater.
-
Plastic or Ceramic Glazed Pots: These materials hold moisture inside the soil longer, making them a great option for busy growers who might occasionally miss a watering.
Step-by-Step Repotting & Division Guide
Repot your Kimberly fern every 2 to 3 years during early spring when active growth resumes.
-
Check for Root-Bound Signs: Look for roots growing through drainage holes, soil that dries out within 48 hours, or a crown pushing up against the sides of the pot.
-
Prepare the New Pot: Select a container 2 inches wider in diameter than the current pot. Add a 2-inch base layer of your fresh potting mix to the bottom.
-
Ease the Plant Out: Turn the pot slightly on its side, support the main crown with your hand, and slide the root ball out gently. Never yank the fronds by force.
-
Inspect and Loosen the Roots: Use your fingers to untangle dense, circling roots gently around the bottom and sides. Trim away any mushy, dark brown, or dead roots with clean, sterilized shears.
-
Position and Fill: Center the plant in the new container, keeping the soil surface level identical to its original depth. Fill the space around the root ball with fresh potting mix, pressing down lightly to remove air pockets.
-
Water Thoroughly: Water the newly potted fern until excess liquid drains out the bottom. Place the plant in medium indirect light for 7 to 10 days to help it recover from repotting stress.
Nutrition and Seasonal Feeding Schedules
Maintaining deep green, vibrant fronds requires a steady supply of essential macronutrients—nitrogen, phosphorus, and potassium—alongside trace micronutrients like iron and magnesium. Because indoor ferns grow within a closed container environment, potting soils quickly lose their nutrients within a few months of active growth.
Fertilizer Selection and NPK Ratio
For optimal foliage development without damaging delicate root tissues, use a balanced, water-soluble liquid houseplant fertilizer with an NPK ratio of 10-10-10 or 20-20-20.
-
Dilution Protocol: Always dilute liquid fertilizers to half the recommended strength listed on the product label. Fern root systems feature fine feeder roots that burn easily when exposed to full-strength synthetic salts.
-
Organic Alternatives: Fish emulsion, liquid seaweed, or worm casting teas offer excellent, gentle nutrition with virtually zero risk of fertilizer burn. Apply these organic options at standard strength every three to four weeks during the growing season.
Feeding Schedule Across the Seasons
-
Spring through Late Summer (April – August): Feed your Kimberly fern once every 3 to 4 weeks immediately after a regular watering. Never apply fertilizer to bone-dry soil, as concentrated salts can scorch dehydrated root tips.
-
Fall and Winter (September – March): Cease fertilization entirely. During these months, lower light levels and cooler temperatures cause the plant’s metabolic rate to slow down. Unused fertilizer salts will remain in the soil, raising salinity levels and causing frond tips to turn brown and crispy.
Flushing Fertilizer Salts
Over time, synthetic fertilizers and tap water minerals leave behind crusty white deposits on the soil surface and inner pot rims. To prevent root damage from salt buildup:
-
Every 3 to 4 months, take your potted fern to a sink, bathtub, or outdoor hose.
-
Slowly pour tepid, filtered water over the top of the soil until it runs freely out of the bottom drainage holes.
-
Allow equivalent to two to three times the pot’s volume in water to pass through the soil matrix, dissolving and flushing out excess salts.
-
Let the pot drain completely for 30 minutes before returning it to its decorative saucer or planter.
Comprehensive Troubleshooting & Pest Management

Even under attentive care, indoor plants can occasionally show signs of stress. Use this diagnostic matrix to quickly identify problems and take immediate corrective action.
Visual Diagnostic Matrix
Managing Common Houseplant Pests
The thick foliage of Nephrolepis obliterata naturally deters many weak pests, but sap-sucking insects can still colonize indoor plants under dry or stressed conditions.
1. Spider Mites (Tetranychidae)
-
Identification: Tiny red, brown, or clear mites that thrive in dry air. You will spot fine, silky webbing spanning the undersides of pinnae and between stem bases.
-
Damage: Leaves develop a speckled, yellowed, or dusty appearance as mites pierce individual cells to drain sap.
-
Treatment: Isolate the plant immediately. Wash the entire foliage structure under a warm shower stream to blast away webbing and mites. Spray thoroughly with insecticidal soap or a 2% dilution of organic neem oil, making sure to coat the undersides of all fronds. Repeat every 5 days for 3 weeks.
2. Scale Insects (Coccidae)
-
Identification: Small, oval, waxy brown bumps attached tightly to frond stems and midribs. They are often mistaken for natural spores or plant growths.
-
Damage: Scale insects suck plant sap, leading to weak growth, yellowing leaves, and sticky honeydew excretions on nearby furniture.
-
Treatment: Dip a cotton swab in 70% isopropyl alcohol and physically dab individual scale insects to dissolve their protective armor. For widespread infestations, apply a systemic insecticide granule to the soil or spray thoroughly with horticultural oil.
3. Fungus Gnats (Sciaridae)
-
Identification: Small, black, fly-like insects darting around the soil surface and lower foliage.
-
Damage: Adult gnats are harmless to humans, but their soil-dwelling larvae feed on organic matter and delicate feeder roots when soil remains constantly wet.
-
Treatment: Allow the top 2 inches of soil to dry out between waterings. Water the soil with a solution containing Bacillus thuringiensis israelensis (BTI, found in Mosquito Bits/Dunks) to eliminate soil larvae naturally. Place yellow sticky cards near the pot surface to catch adult gnats.
Year-Round Maintenance Calendar
Spring (April – June)
-
Repotting: Repot root-bound plants into a fresh soil mix.
-
Fertilizing: Resume monthly half-strength liquid fertilizing.
-
Pruning: Trim away dead or yellowing winter fronds right at the base.
-
Watering: Increase watering frequency as fresh new growth emerges.
Summer (July – September)
-
Moisture Check: Monitor soil moisture closely; check the topsoil every 3–5 days.
-
Humidity: Maintain high relative humidity between 40% and 60%.
-
Rotation: Rotate the pot 90 degrees weekly for even light distribution and balanced foliage growth.
-
Pest Inspection: Inspect leaf undersides regularly for spider mites or scale insects.
Fall (October – November)
-
Stop Feeding: Cease all fertilizer applications completely as growth slows.
-
Adjust Watering: Reduce watering frequency as daylight hours grow shorter.
-
Cleaning: Wipe dusty fronds clean with a gentle damp cloth or water spray.
-
Placement: Move the plant away from active heating vents, drafts, or radiators.
Winter (December – March)
-
Minimal Moisture: Water only when the top 1 to 2 inches of soil feel dry to the touch.
-
Air Care: Run a cool-mist humidifier nearby to combat dry indoor heating.
-
Maximize Light: Move the plant closer to bright windows to compensate for lower daylight levels.
-
Temperature: Keep ambient room temperatures consistently above 60°F (15°C).
Frequently Asked Questions
Are Kimberly ferns safe for pets?
Yes. The ASPCA explicitly lists the Kimberly Queen fern (Nephrolepis obliterata) as non-toxic to cats, dogs, and horses. Unlike toxic houseplants such as Lilies, Sago Palms, or Dieffenbachia, you can safely display Kimberly ferns in homes with curious pets.
Can I trim brown tips off my fern’s fronds?
Yes, you can trim off damaged brown tips using clean, sharp household scissors. To maintain an appealing appearance, make V-shaped angled cuts that mimic the natural triangular shape of the individual leaflets rather than cutting straight across.
Should I mist my Kimberly fern daily to boost humidity?
Misting with a hand spray bottle only provides a temporary humidity spike that lasts 10 to 15 minutes, making it largely ineffective for long-term health. Excessive foliage misting can also create standing water droplets on leaves, promoting fungal leaf spot diseases. Using a cool-mist room humidifier or pebble tray offers far more consistent and safer results.
Why is the center of my fern losing its leaves?
Thinning foliage near the center of the crown typically signals insufficient light reaching the interior of the plant. Rotate your fern 90 degrees every time you water it so all sides receive balanced light exposure. If the center remains sparse, move the plant closer to a brighter window or install an overhead grow light.
Can Kimberly ferns live outdoors during the warmer months?
Absolutely. Kimberly ferns make excellent patio and porch plants during spring and summer. Place them in a sheltered spot outdoors that receives shade or soft morning light, protected from direct afternoon sun and harsh winds. Bring them back indoors before outdoor night temperatures drop below 55°F (13°C).
Conclution: The Secret to Long-Term Indoor Fern Success
Growing lush, vibrant indoor plants does not require a green thumb—it simply requires matching a plant’s natural environmental needs with consistent care habits.
The Kimberly Queen fern stands out as one of the most rewarding tropical foliage plants you can bring into your home. By providing generous indirect sunlight, maintaining steady root zone moisture without overwatering, elevating humidity above 40%, and feeding lightly during the active spring and summer seasons, your plant will reward you with pristine, upright fronds that stay rich green and crispy-free all year long.