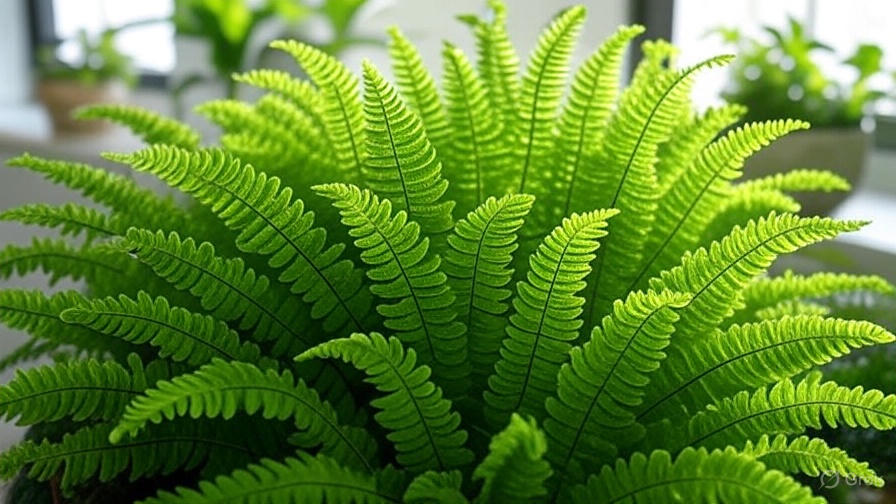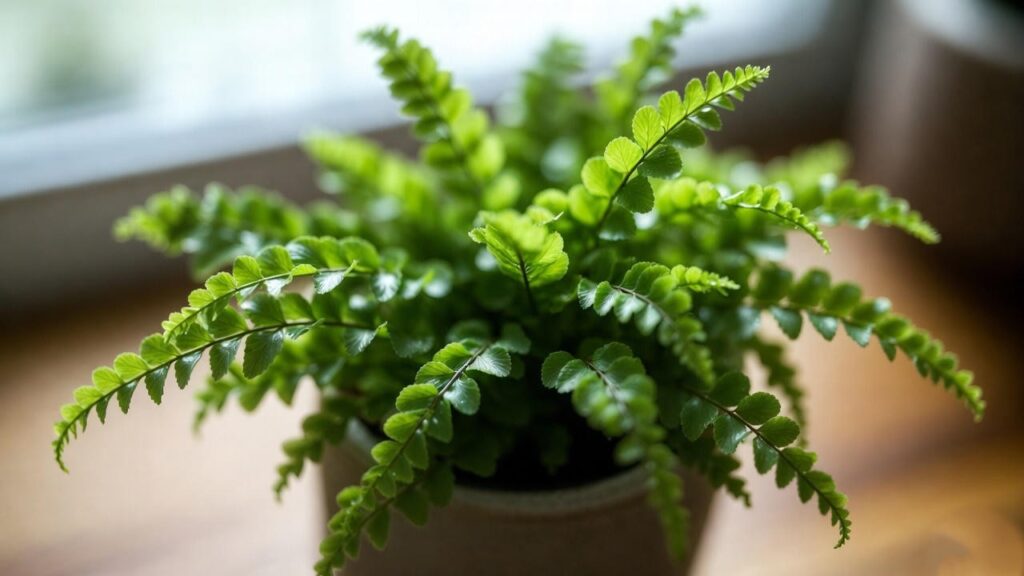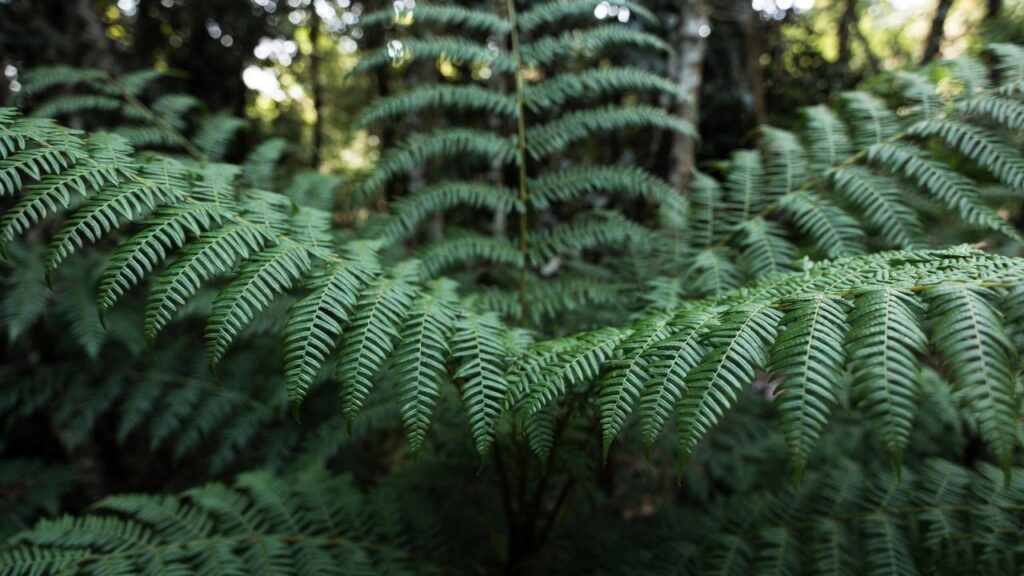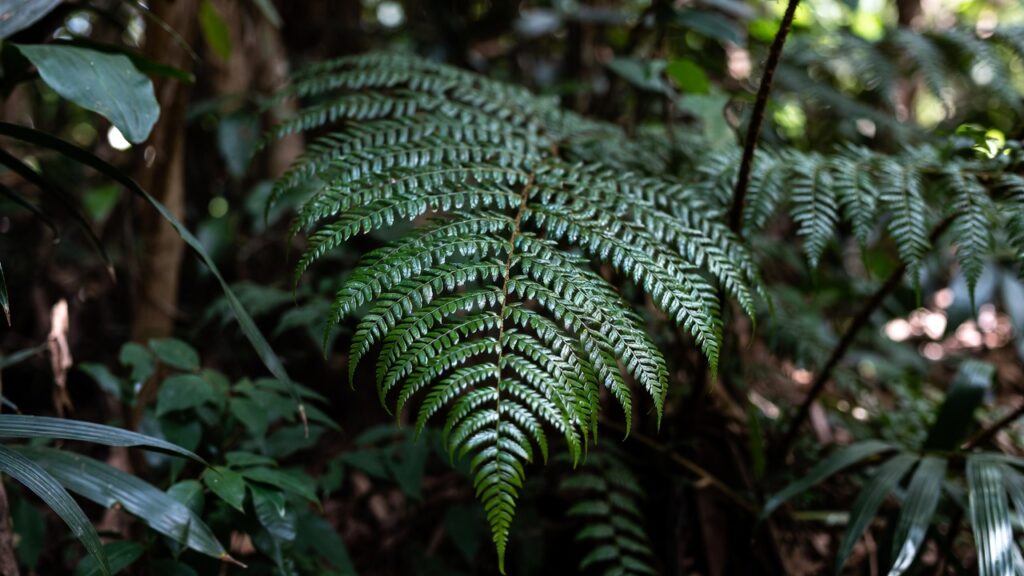
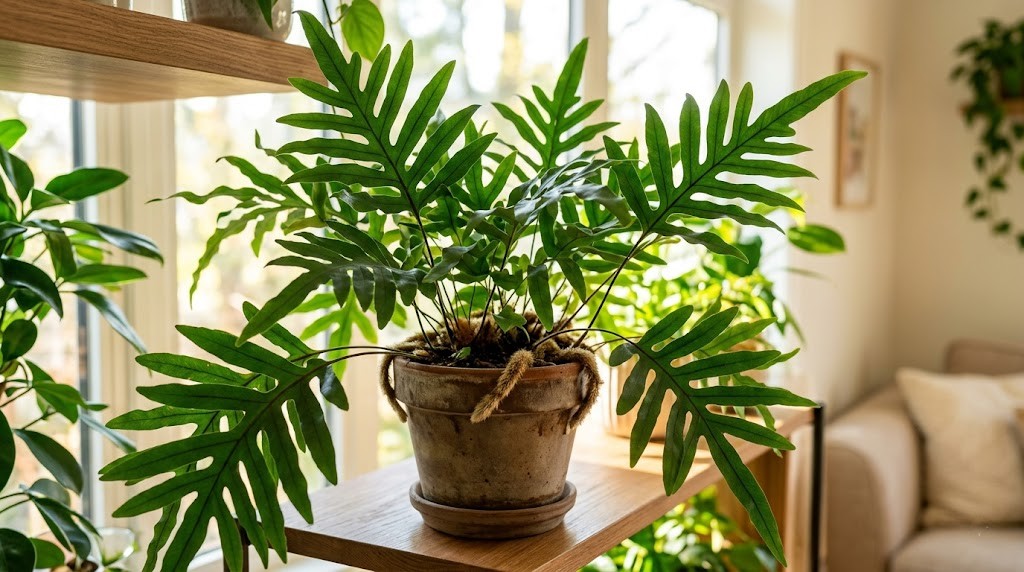
Most ferns have earned a reputation in the plant world as finicky divas. They drop fronds at the slightest drop in humidity, crisp up if you forget a single watering, and generally turn a relaxing home garden into a nerve-wracking maintenance routine. Enter the kangaroo paw fern (Microsorum diversifolium or Zealandia pustulata). Lush, architectural, and surprisingly forgiving, this Australian and New Zealand native offers all the vibrant, tropical beauty of a classic fern without the delicate, high-maintenance fuss.
If you have ever bought a houseplant only to watch it slowly turn into a brown, crunchy shadow of its former self, you are not alone. “Crispy fern syndrome” is the single most common frustration among indoor plant enthusiasts. This comprehensive guide will walk you through every nuance of caring for your kangaroo paw fern, from mastering its unique watering and lighting preferences to demystifying those fascinating fuzzy rhizomes crawling out of the pot. By applying these expert care strategies, you will transform your living space into a thriving, green sanctuary with a plant that stays vibrant for years to come.
Quick Reference Summary
-
Scientific Name: Microsorum diversifolium (syn. Zealandia pustulata)
-
Common Names: Kangaroo Paw Fern, Kangaroo Fern, Hand Fern
-
Botanical Family: Polypodiaceae (Epiphytic & Lithophytic Fern)
-
Native Habitat: Coastal rainforests and rocky outcrops of Australia and New Zealand
-
Light Preference: Medium to bright indirect light; highly tolerant of moderate shade
-
Watering Strategy: Keep soil consistently moist like a wrung-out sponge; allow top 1 inch to dry slightly between waterings
-
Humidity Needs: 45%–70%+ (more tolerant of ambient indoor air than thin-leaved ferns)
-
Ideal Temperature: 60°F to 75°F (15°C to 24°C)
-
Potting Medium: Coarse, highly aerated epiphytic blend (soil, orchid bark, perlite, and coco coir)
-
Toxicity: Non-toxic to cats, dogs, and horses (Pet-Safe)
-
Standout Feature: Deeply lobed, glossy fronds accompanied by thick, fuzzy, creeping rhizomes
SECTION 1: Introduction – The Fern That Doesn’t Quit
Indoor gardening has skyrocketed in popularity, but so has the frustration surrounding high-humidity foliage plants. For years, plant lovers have struggled with Maidenhair and Boston ferns, only to end up sweeping dry leaves off their floors. The kangaroo paw fern flips this narrative entirely.
What makes this species so remarkably tough compared to its delicate cousins? The answer lies in its evolutionary adaptations. Unlike soft, papery ferns that lose water at a rapid rate, the kangaroo paw fern features thick, leathery, dark-green fronds coated with a natural cuticle layer. This waxy barrier dramatically reduces transpiration, helping the plant retain moisture even when indoor air drops below optimal humidity levels.
Expert Insight: In habitat, Microsorum diversifolium grows as an epiphyte clinging to tree trunks or a lithophyte anchoring to mossy rocks. It relies on atmospheric moisture, rainwater runoff, and organic debris trapped in tree crotches. Because its roots are designed to breathe open air rather than sit in dense soil, success indoors comes down to one primary factor: maximizing oxygen around the root zone.
By recognizing that this plant is designed to climb and anchor rather than dig deep into heavy dirt, you can completely change how you care for it—eliminating root rot, yellow leaves, and stunted growth.
SECTION 2: Botanical Overview & Anatomy – Understanding Your Plant
To grow a genuinely healthy specimen, it helps to read the physical signs your plant gives you. The kangaroo paw fern boasts several structural features that set it apart from standard potted greenery.
Natural Habitat and Growth Habit
In the wild temperate and sub-tropical rainforests of Eastern Australia and New Zealand, Microsorum diversifolium is an opportunistic climber. It uses its modified root stems to scale moss-covered tree trunks, spread across fallen logs, and carpet rocky ravines.
Because it is accustomed to filtered canopy light and fast-draining rainfall runoff, it thrives in environments that balance moisture with exceptional airflow. Recreating these basic forces inside your home is far simpler than trying to simulate a steamy greenhouse.
Understanding Frond Morphologies (Dimorphic Leaves)
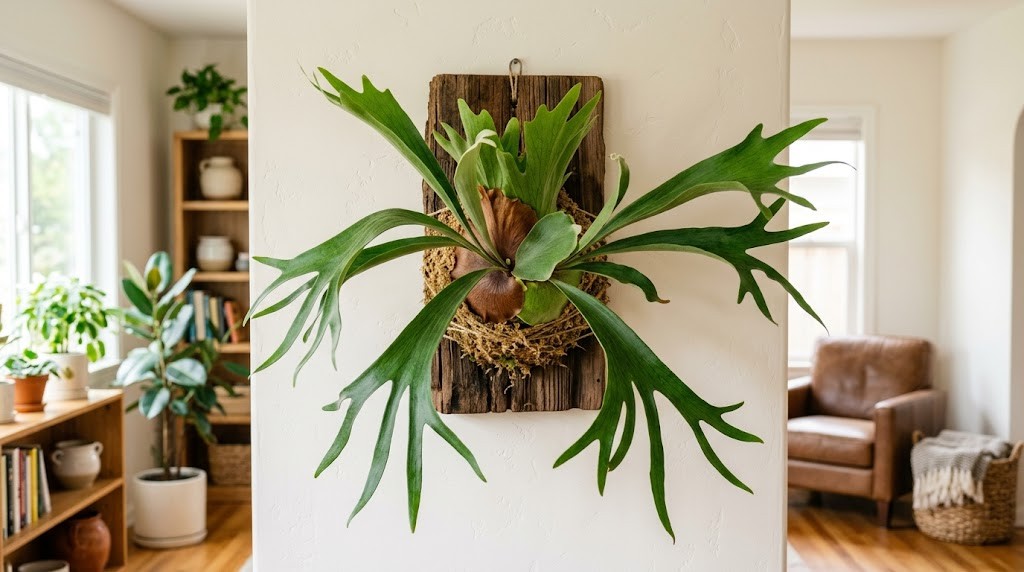
One of the most captivating aspects of the kangaroo paw fern is its leaf dimorphism. As the plant grows, it produces two distinct types of fronds:
-
Juvenile Fronds: Simple, unbroken, strap-like leaves that emerge first on young plants or fresh rhizome divisions. They are smooth-edged, glossy, and light green.
-
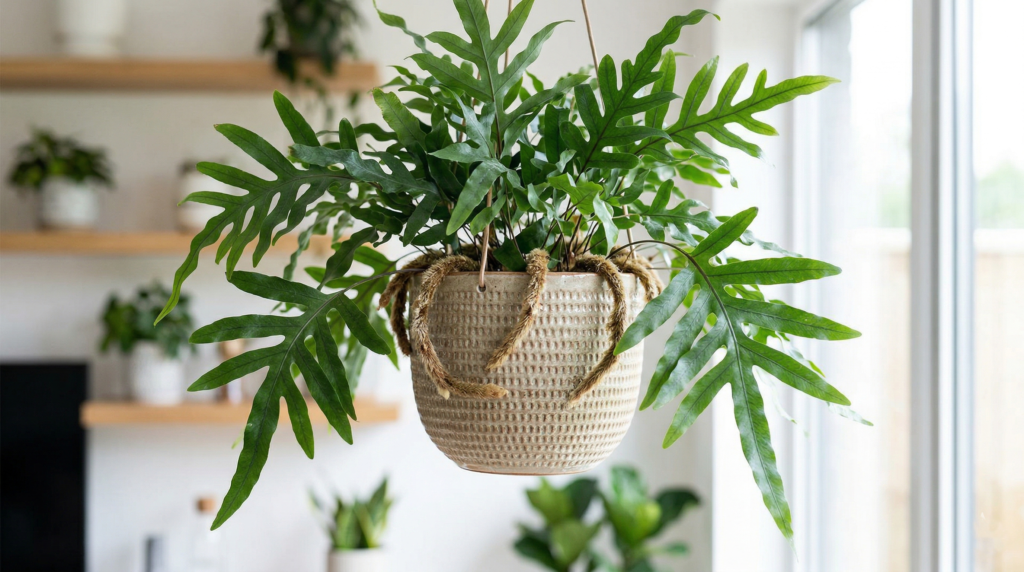
Mature Fronds: Deeply lobed, hand-shaped fronds featuring anywhere from 3 to 12 distinct segments, which strongly resemble a kangaroo’s footprint.
It is completely normal for a single plant to display both simple juvenile leaves and complex mature leaves simultaneously. Do not prune away simple leaves assuming they are deformed; they are a natural phase of the plant’s biological development.
The Creeping Rhizomes: The Engine of the Plant
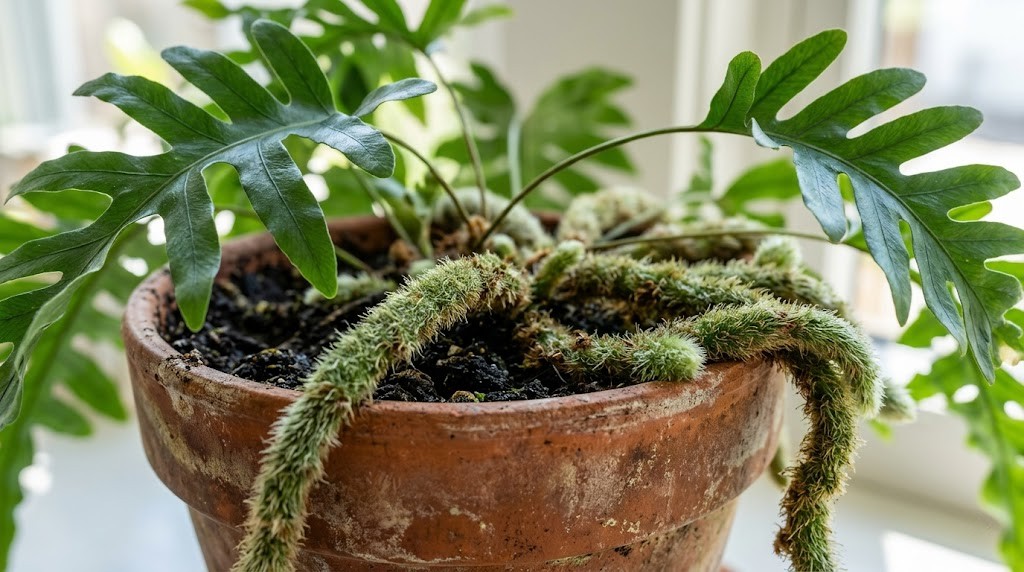
Look closely at the base of your fern, and you will notice thick, fuzzy, green-to-brown stems crawling across the soil surface and spilling over the rim of the pot. These are rhizomes.
Rhizomes act as storage organs and structural anchors. They store water and nutrients while sprouting both foliage upward and fine feeder roots downward into the growing medium.
Critical Rule: Never bury these fuzzy rhizomes deep beneath the soil! Burying rhizomes stifles their air exposure, traps excess water against the tissue, and quickly leads to fatal rhizome rot. They are meant to sit lightly on top of or creep across the surface of the soil.
SECTION 3: The Core Care Pillars – Light, Water, Soil & Climate
Thriving houseplants are built on consistent basic care. The following four pillars outline the ideal environmental parameters for your kangaroo paw fern.
1. Light Requirements: Finding the Perfect Indirect Glow
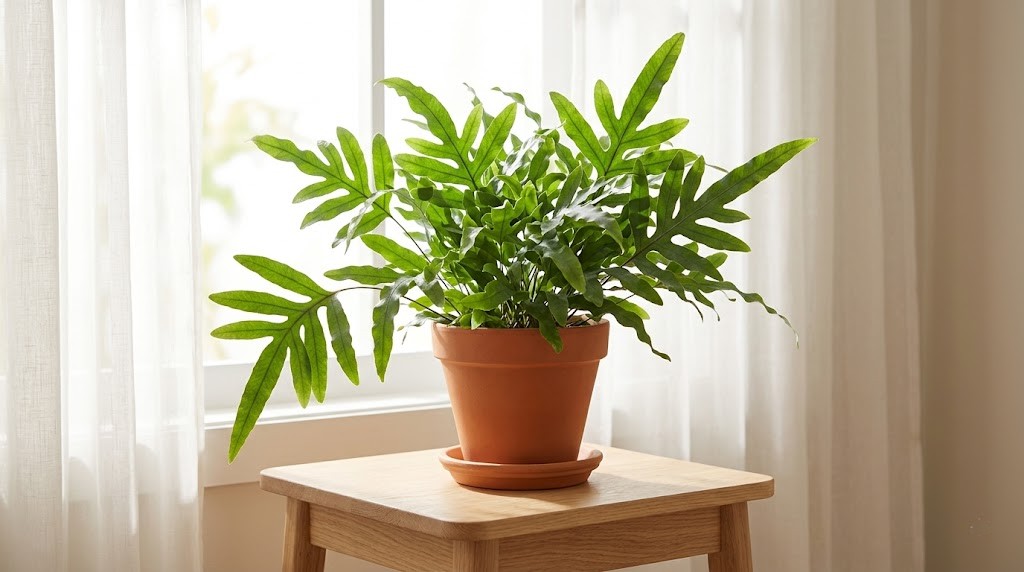
Lighting dictates the rate at which your fern photosynthesizes, uses water, and pushes out new fronds.
-
The Ideal Spot: Bright, indirect light is the gold standard. An East-facing window that receives gentle morning sun, or a spot set back 3 to 5 feet from an unobstructed South or West-facing window, provides optimal energy without risk of foliage damage.
-
Low-Light Tolerance: While many ferns tolerate low-light corners, long-term exposure to deep shade will cause fronds to lose their deep-green gloss, stretch unnaturally (leggy growth), and stop producing lobed mature leaves.
-
Direct Sun Hazards: Harsh, direct midday or afternoon sunlight will scorch the wax layer on the fronds, leaving bleached white, tan, or crispy brown burn marks that cannot recover.
2. How to Water a Kangaroo Paw Fern (Without Causing Root Rot)
Improper watering is responsible for over 80% of houseplant deaths. For epiphytic ferns, the balance lies between keeping roots hydrated and preventing stagnant water from pooling around the root crown.
The Golden Moisture Rule
Aim to keep the soil mix consistently damp, like a thoroughly wrung-out sponge. The root ball should never be allowed to bake bone-dry, nor should it sit in a saucer of standing water.
The “Top-Inch Check” Technique
Before reaching for your watering can, perform a simple physical check:
-
Insert your index finger 1 to 1.5 inches deep into the potting mix.
-
If the soil feels cool, dark, and clings to your skin, hold off on watering.
-
If the top inch feels dry, loose, and warm to the touch, it is time to water thoroughly.
-
Alternatively, use a digital moisture meter: water when the gauge reads at the lower edge of the “Moist” zone (around level 3 or 4).
Bottom Watering vs. Top Watering
-
Top Watering: Water around the perimeter of the pot, avoiding pouring water directly onto the central cluster of fuzzy rhizomes. Allow excess water to drain out fully through the bottom drainage holes.
-
Bottom Watering: Set the pot in a basin filled with 1–2 inches of room-temperature water for 15–20 minutes, letting the soil draw moisture upward through capillary action. Empty any remaining water from the tray afterward. This method keeps the upper rhizomes dry while fully hydrating the root mass below.
Water Quality Considerations
While kangaroo paw ferns are sturdier than Marantas or Calatheas, high concentrations of fluoride, chlorine, or hard minerals in municipal tap water can cause frond tips to turn brown over time. Whenever possible, use room-temperature filtered water, collected rainwater, or distilled water, or let tap water sit out uncovered for 24 hours before use.
3. The Ultimate Epiphytic Soil Mix & Potting Setup
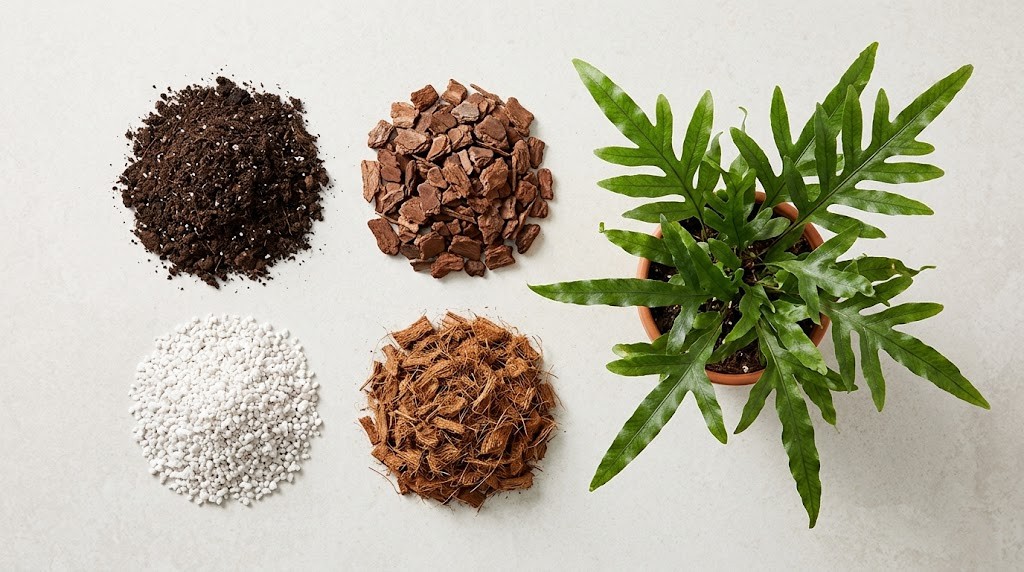
Standard commercial potting soils are designed to retain moisture for long periods. However, for an epiphyte like Microsorum diversifolium, dense soil acts like a soaked sponge that cuts off oxygen to the roots, encouraging anaerobic bacteria and root rot.
The Ideal DIY Soil Recipe
To recreate the natural bark-and-rock environment of their native habitat, mix a loose, chunky, well-aerated potting medium using this formula:
-
40% Organic Houseplant Soil: Provides base moisture and essential organic matter.
-
30% Fine to Medium Orchid Bark: Creates coarse air pockets, structural support, and drainage paths.
-
20% Perlite or Pumice: Ensures light aeration and prevents soil compaction over time.
-
10% Coco Coir or Sphagnum Peat Moss: Retains balanced moisture without adding density.
Selecting the Right Container
Always choose a pot equipped with at least one unobstructed drainage hole.
-
Container Type: Wide, shallow pots or bowl planters are ideal because they give the horizontal rhizomes plenty of surface area to creep and spread. Hanging baskets are another excellent choice, allowing mature fronds and trailing rhizomes to spill over the edge.
-
Material Selection: Terracotta pots allow moisture to evaporate through their porous walls, making them great for growers prone to overwatering. Plastic or glazed ceramic pots retain moisture longer, requiring slightly less frequent watering.
4. Temperature & Humidity Requirements
Temperature Stability
Keep your kangaroo paw fern in a comfortable room temperature range between 60°F and 75°F (15°C to 24°C).
-
Avoid placing your plant near heating vents, radiators, cold window drafts, or direct air conditioning blasts. Rapid temperature swings stress the foliage and cause sudden frond dropping.
-
Cold Hardiness: The plant can briefly tolerate temperatures dipping down to 50°F (10°C), but extended exposure to cold will damage fronds and freeze delicate rhizome tissue.
Mastering Ambient Humidity
While the leathery texture of the kangaroo paw fern makes it far more resilient to average home humidity (35%–40%) than fine-leafed ferns, it will grow noticeably faster, larger, and greener when ambient humidity stays between 50% and 70%.
To boost humidity safely without creating stagnant, damp conditions:
-
Use a Cool-Mist Room Humidifier: Position a humidifier 3 to 5 feet away from your plant collection.
-
Set Up a Pebble Tray: Fill a shallow tray with decorative pebbles, add water until it reaches just below the top of the stones, and rest your potted fern on top. As the water evaporates, it creates a humid microclimate right around the foliage.
-
Group Your Plants: Cluster several tropical plants together. As they naturally transpire, they increase ambient humidity for one another.
-
A Note on Misting: Lightly misting foliage can temporarily boost humidity, but prolonged wetness on leaves without proper airflow invites fungal diseases like leaf spot. Focus on soil moisture and ambient air humidity instead of heavy leaf misting.
SECTION 4: Feeding, Pruning & Maintenance
Fertilization Strategy: Less Is More
Ferns are light feeders. Over-fertilizing can burn roots, cause leaf tips to turn crisp and brown, and lead to salt accumulation in the soil.
-
Frequency: Feed once per month during the active growing season (spring through late summer).
-
Fertilizer Selection: Use a balanced, water-soluble liquid fertilizer (such as an N-P-K 10-10-10 or 20-20-20 ratio) diluted to half or quarter strength. Alternatively, use an organic liquid seaweed or fish emulsion formula.
-
Dormancy Pause: Stop all fertilization during autumn and winter when plant growth slows down naturally.
Grooming and Pruning Protocol
Proper maintenance keeps your fern looking crisp and prevents pests from finding hidden shelter in dead plant material.
-
Removing Damaged Fronds: As your plant grows, older lower fronds will naturally turn yellow or brown and die off. Use a pair of clean, micro-tip pruning shears sterilized with rubbing alcohol to cut spent fronds off clean at the base, right where they meet the rhizome.
-
Cleaning Foliage: Broad, glossy fronds act like dust collectors indoors. Accumulation of dust blocks sunlight and lowers photosynthetic efficiency. Wipe fronds down every few weeks using a soft, damp microfiber cloth. Avoid commercial leaf-shine products, which can clog the leaf pores.
SECTION 5: Step-by-Step Propagation Guide
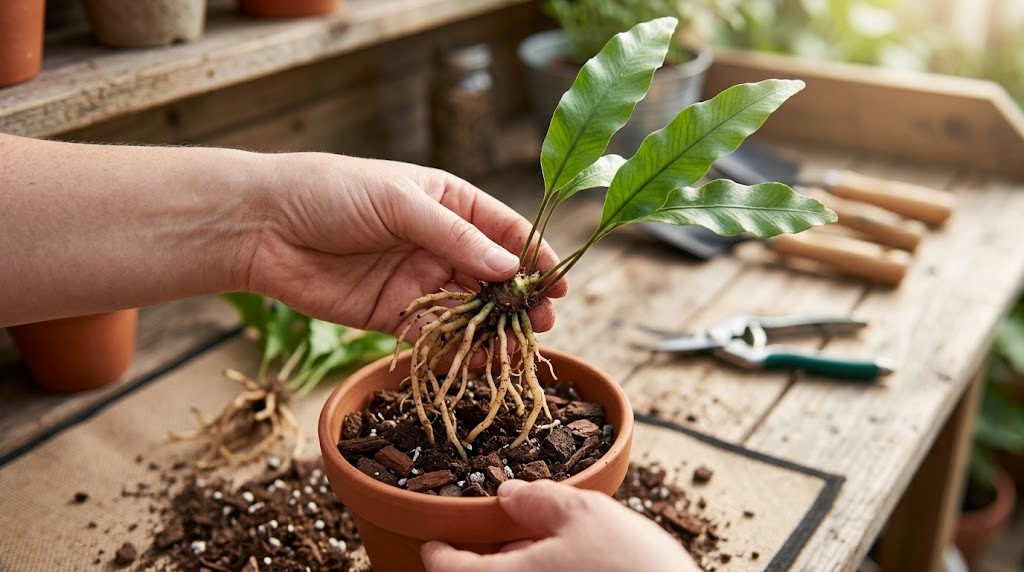
Multiplying your kangaroo paw fern is straightforward. Because ferns reproduce via spores rather than seeds or simple stem cuttings, the fastest and most reliable propagation method for home growers is rhizome division.
Propagation Step-by-Step
-
Step 1: Timing & Preparation
Divide your fern in early spring, just as the plant enters its active growth cycle. Prepare small pots with fresh, well-draining epiphytic mix and sterilize your cutting tools.
-
Step 2: Unpotting and Inspection
Gently ease the mother plant out of its pot. Tap away loose soil from around the base to expose the network of creeping rhizomes and subterranean roots.
-
Step 3: Identifying Division Points
Look for healthy rhizome sections that have at least 2 to 3 intact, green fronds, a clear fuzzy creeping stem section (at least 2–3 inches long), and a cluster of healthy white-tipped roots attached beneath it.
-
Step 4: Clean Separation
Using a sterile, razor-sharp knife or pruning shears, cut cleanly through the rhizome stem to separate your new division from the main plant. Avoid tearing or shredding the fibrous roots.
-
Step 5: Potting Up Your New Division
Fill a shallow pot halfway with your chunky soil mix. Position the division so the roots drop down into the medium while the fuzzy rhizome rests directly on top of the soil surface. Lightly firm soil around the roots, water thoroughly, and place under a clear plastic cover for 2 to 3 weeks to trap moisture while roots establish.
SECTION 6: Troubleshooting & Plant Diagnostics
Even with careful attention, indoor plants can run into occasional issues. Use this diagnostic reference to quickly identify and fix common kangaroo paw fern problems.
Comprehensive Symptom Diagnostic Table
SECTION 7: Common Pests and Diseases
The thick foliage of the kangaroo paw fern makes it naturally pest-resistant, but indoor plants can still fall victim to common sap-sucking insects if conditions drop out of balance.
1. Mealybugs & Scale Insects
-
Identification: Mealybugs show up as small, cotton-like white clusters nestled where frond stems join the rhizome. Scale insects appear as flat, hard, tan-to-brown oval bumps along frond veins. Both feed on plant sap and excrete a sticky residue called honeydew.
-
Treatment: Isolate the affected plant. Dab individual pests with a cotton swab soaked in 70% isopropyl alcohol. Spray all foliage with insecticidal soap or Neem oil weekly for 3 weeks.
2. Spider Mites
-
Identification: These tiny arachnids thrive in warm, dry environments. Look for fine, silky webbing under leaves and a speckling pattern across frond surfaces.
-
Treatment: Wash foliage down thoroughly in the shower to dislodge webs and mites. Raise surrounding humidity levels and treat weekly with horticultural oil or insecticidal soap.
3. Fungal Root & Rhizome Rot
-
Identification: Blackened, foul-smelling rhizomes, damp soil that refuses to dry out, and widespread leaf yellowing.
-
Treatment: Unpot immediately. Trim away soft, rotten, black roots and rhizome sections with sanitized shears. Dust healthy cuts with powdered cinnamon or fungicide, then repot into fresh, dry, bark-heavy mix.
SECTION 8: Seasonal Adjustments & Year-Round Maintenance
To keep your kangaroo paw fern healthy long-term, adjust your care routines as the seasons shift.
Spring & Summer Care (Active Growing Season)
-
Watering: Soil dries faster as temperatures rise and the plant pushes out fresh growth. Check moisture every 4 to 5 days.
-
Feeding: Apply half-strength liquid fertilizer once a month.
-
Rotation: Turn the pot 90 degrees every week so all sides receive balanced light, keeping growth full and symmetric.
Autumn & Winter Care (Rest Period)
-
Watering: Cooler temperatures and shorter days slow plant growth. Reduce watering frequency, allowing the top 1.5 inches of soil to dry out slightly before rehydrating.
-
Feeding: Pause all fertilizer applications entirely until spring returns.
-
Humidity Protection: Central heating systems can drop indoor humidity levels below 20%. Keep a humidifier running nearby to protect fronds from drying out over winter.
SECTION 9: Frequently Asked Questions (FAQs)
Q1: Is the Kangaroo Paw Fern pet-safe for cats and dogs?
Yes! The kangaroo paw fern (Microsorum diversifolium) is completely non-toxic to cats, dogs, and horses. It is a fantastic, worry-free option for homes with curious pets.
Q2: Why are the fuzzy rhizomes growing over the edge of my pot?
This is completely normal and healthy behavior! Kangaroo paw ferns are epiphytic climbers that love to spread their rhizomes horizontally. You do not need to cut them off or force them down into the soil. Let them trail over the sides naturally, or shift the plant into a wider container if you want to encourage a broader base.
Q3: Should I mist my Kangaroo Paw Fern every day?
Regular misting is generally inefficient for raising ambient humidity and can encourage fungal leaf spots if water collects on foliage without good airflow. A better long-term strategy is placing your fern near a cool-mist humidifier or using a dedicated pebble tray.
Q4: Can I grow a Kangaroo Paw Fern outdoors?
You can keep this fern outdoors year-round if you live in USDA Hardiness Zones 9b through 11, provided it stays in a shaded, frost-free area. In cooler zones (Zone 8 and below), bring the plant indoors as soon as nighttime temperatures start dropping below 50°F (10°C).
Q5: Why are my fern’s new leaves smooth instead of lobed?
When a kangaroo paw fern is young, recovering from repotting stress, or grown in lower light, it produces simple, unlobed “juvenile” fronds. As the plant settles in, matures, and receives steady bright indirect light, it will start pushing out its characteristic multi-lobed “kangaroo paw” foliage once again.
SECTION 10: Final Thoughts & Action Plan
The kangaroo paw fern stands out as one of the most rewarding, stylish, and adaptable tropical houseplants you can grow. By understanding its epiphytic nature, using a loose and airy soil mix, keeping its creeping rhizomes above the soil surface, and maintaining bright, indirect lighting, you can easily avoid the common pitfalls of indoor fern care.
Your 4-Step Action Plan for Success
-
Check Your Potting Soil: Ensure your fern sits in a light, bark-rich epiphytic mix that drains freely.
-
Expose the Rhizomes: Verify that the fuzzy crawling stems are resting on top of the soil, never buried beneath it.
-
Optimize the Spot: Set your fern near an East-facing window or just out of reach of direct sunlight.
-
Maintain Moisture: Water thoroughly when the top inch of soil dries out, and boost ambient humidity with a humidifier or pebble tray.
With just a little tailored attention, your kangaroo paw fern will reward you with a lush, glossy canopy of vibrant green foliage that brings long-lasting, tropical life into your home.