Picture a plant that completely defies the standard green palette of the traditional indoor jungle, offering instead an architectural masterpiece of dusty blue-gray pads that transition into a vibrant, glowing violet-purple. The santa rita prickly pear cactus (Opuntia santa-rita) is one of the most breathtaking succulents in existence, coveted for its dramatic color changes and striking desert aesthetic. However, bringing this desert native over your doorstep and into an indoor living space comes with a unique set of challenges.
Too often, enthusiastic plant parents bring home a stunning purple specimen only to watch it fade to a dull green, stretch out into a weak, spindly shape, or succumb to the silent killer of houseplant culture: root rot. Desert cacti are notoriously tricky to maintain inside a home because our indoor environments are inherently low in airflow, low in light, and high in ambient humidity compared to the arid expanses of the American Southwest.
But here is the good news: growing this magnificent cactus indoors is not only possible, it can be incredibly rewarding if you understand how to mimic its native habitat. This comprehensive guide breaks down the precise horticultural science of cultivating the santa rita prickly pear cactus in an indoor setting. Grounded in hands-on cultivation experience, supplemental lighting experimentation, and substrate testing, this guide will provide you with the exact blueprints needed to keep your cactus structurally sound, beautifully vibrant, and thriving for years to come.
2. Meet the Santa Rita Prickly Pear (Opuntia santa-rita)
To successfully cultivate any plant indoors, you must first understand its botanical background and structural anatomy. The Opuntia santa-rita is a prominent member of the Cactaceae family, native to the high-elevation deserts, rocky hillsides, and arid foothills of Arizona, New Mexico, Texas, and northern Mexico. In its natural habitat, it endures extreme environmental swings—from blistering daytime heat and intense UV radiation to freezing desert nights and prolonged periods of drought.
The Science Behind the Purple Hue
The defining characteristic of the Santa Rita is, of course, its brilliant purple coloration. This is not a permanent, static feature, nor is it caused by artificial dyes. The coloration is driven by a biological defense mechanism involving water-soluble pigments called anthocyanins.
In the wild, anthocyanins act as a natural sunscreen and stress protectant. When the plant experiences environmental stressors—most notably intense ultraviolet (UV) sunlight, dropping winter temperatures, or extended dry spells—it ramps up anthocyanin production to shield its delicate internal tissues from cellular damage. Indoors, understanding this mechanism is crucial. If your indoor environment is too cozy, dim, and consistently wet, the plant will stop producing these pigments, reverting to a standard, utilitarian green. To keep the purple, you must strategically introduce controlled, safe environmental variations.

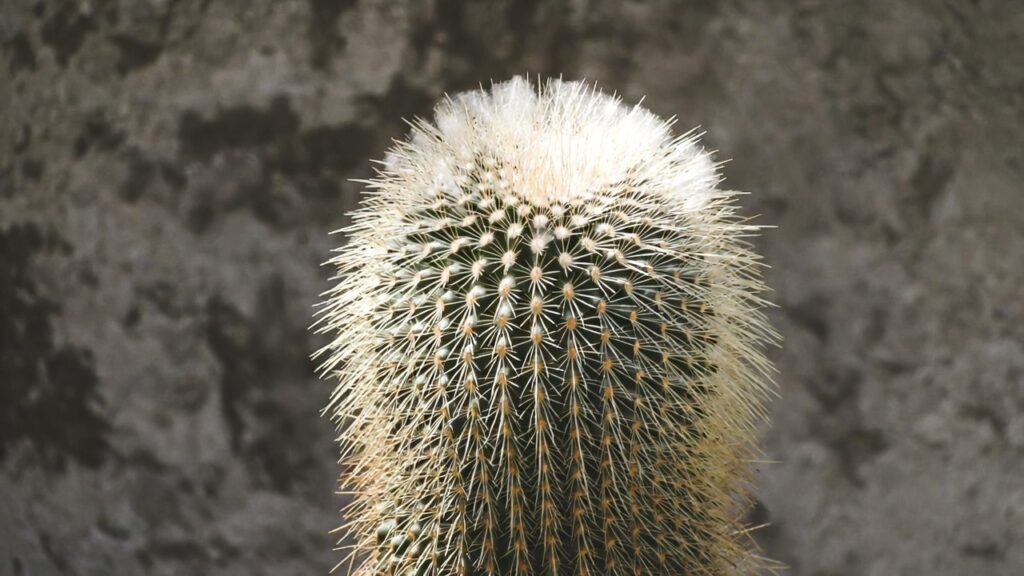
An Absolute Safety Warning: Spines vs. Glochids
While the large, needle-like spines that emerge from the round areoles of the plant look intimidating, they are actually the lesser of two evils. The true hazard of handling the Opuntia santa-rita lies in its glochids.
Every single bump (areole) on the cactus holds two very different defense mechanisms:
-
Long, Fixed Spines: These are the large, traditional needles. Because they are big and easy to see, they are relatively easy to avoid.
-
Clusters of Glochids: These are thousands of microscopic, fuzzy-looking, barbed hairs clustered at the base of the larger spines. The slightest brush against the plant will dislodge hundreds of these barbs into your skin, and they can even briefly become airborne. Because they are barbed like tiny fishhooks, they cause persistent irritation and are incredibly frustrating to remove.
Whenever you are interacting with, moving, or propagating your cactus, maintaining a strict safety protocol is non-negotiable. Always wear thick leather gardening gloves and use kitchen tongs.
3. The Secret to Indoor Success: Lighting & Location

If there is a single point of failure for indoor cactus care, it is insufficient light. In the desert, the Santa Rita absorbs unobstructed, direct sunlight for up to 10 to 12 hours a day. Translating that requirement into a residential indoor setting requires strategy, because standard residential window glass filters out a massive percentage of the ultraviolet spectrum that the plant relies on to trigger its brilliant purple coloration.
Window Placement Ranked
When positioning your cactus within your home, window orientation determines survival.
-
South-Facing Windows (The Gold Standard): A large, completely unobstructed South-facing window is an absolute requirement if you intend to grow this plant using natural light alone. This orientation provides the longest duration of intense, direct sunlight throughout the day. Place the pot within 6 to 12 inches of the glass.
-
West-Facing Windows (The Runner-Up): A West-facing window delivers intense, hot afternoon sun. While acceptable, the total hours of direct light are fewer than a Southern exposure, meaning the plant may still experience slight color loss over time.
-
East and North-Facing Windows (The Danger Zone): North-facing windows provide zero direct sunlight, and East-facing windows offer only weak morning light. Placing your Santa Rita here without intervention will result in severe health decline within months.
The Problem of Etiolation
When a cactus receives inadequate light, it enters a survival state known as etiolation. The plant shifts all its energy into rapid, vertical growth, stretching out blindly toward the nearest light source.
Instead of producing normal, thick, round, robust pads, the new growth will emerge thin, pale green, elongated, and pointed. This structural damage is irreversible; the weakened, narrow bases cannot support the weight of future pads, causing the plant to eventually snap or collapse under its own weight. If you notice your new pads starting to look pointy or stretched, immediately move the plant to a brighter window or install a grow light.
Implementing LED Grow Lights
For most indoor growers, even a South-facing window isn’t enough during the dark winter months. To maintain the structural integrity and deep violet tones of your Opuntia santa-rita, supplemental lighting is highly recommended.
To yield real results, look for high-output, full-spectrum LED grow lights or T5 fluorescent fixtures designed for plants. Run the fixture on a timer for 14 to 16 hours a day during the active growing season, keeping the light roughly 6 to 12 inches above the top of the cactus.
4. Master the “Soak and Dry” Watering Method
More indoor cacti die from overwatering than any other cause. In their native habitats, these plants experience long periods of absolute drought broken by sudden, heavy downpours. Their root systems are biologically designed to drink rapidly and extensively, storing that moisture within their fleshy pads, and then resting in completely dry soil.
The Logic of “Soak and Dry”
Indoor cultivation requires strict adherence to the “soak and dry” method. This means you do not water on a calendar schedule (e.g., “every Tuesday”). Instead, you water only when the entire volume of soil within the pot—from the top surface right down to the bottom drainage hole—is entirely bone dry.
To accurately test this, do not rely on your finger, which can only reach the top couple of inches of soil. Use a long wooden chopstick or a moisture meter inserted deeply into the root zone. If the chopstick comes up with any damp soil adhering to it, step away. Do not water. When it is time to water, pour water evenly over the soil until it flows freely out of the drainage holes at the bottom of the pot, then empty the runoff tray immediately.
Seasonal Adaptation
Your watering habits must shift dramatically across the seasons:
-
Spring & Summer (Active Growth): This is the active growing phase. Water approximately every 2 to 3 weeks, but only when the soil is completely dry from top to bottom.
-
Fall (Transition Period): Taper off your watering frequency, allowing the soil to remain dry for longer periods between waterings.
-
Winter (Deep Dormancy): Drastically reduce watering. Often, once every 4 to 6 weeks is just enough to keep the pads from severely wrinkling.
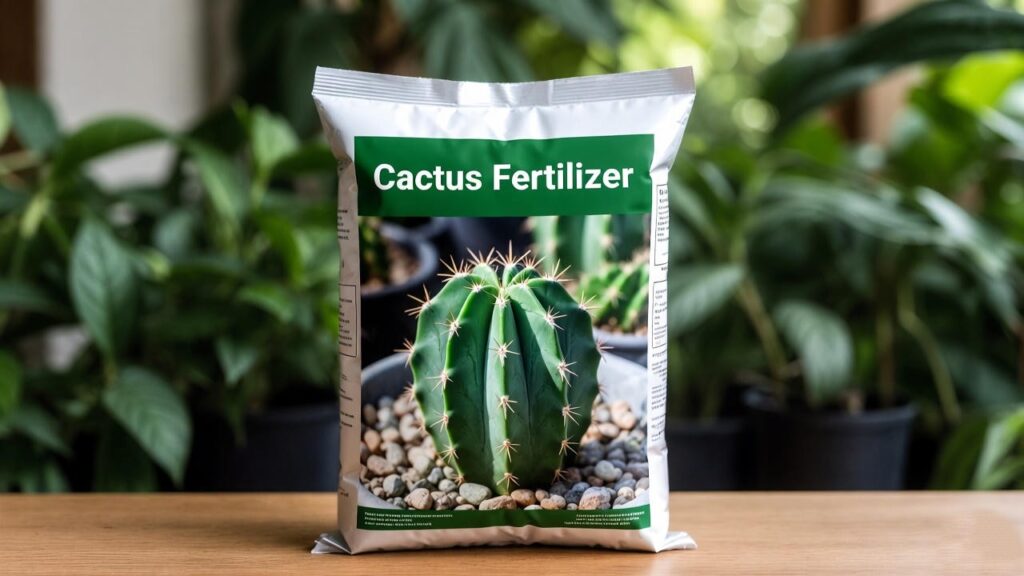
5. Soil Architecture & Potting Requirements
Standard commercial potting soils designed for tropical houseplants are formulated to retain moisture. If you plant an Opuntia santa-rita in this type of dense, peat-heavy substrate, the roots will remain trapped in a wet envelope for days, cutting off oxygen and inviting pathogenic root rot fungi to destroy the plant.
The Perfect DIY Soil Recipe
To keep your indoor cactus safe, you need a custom substrate mixture that prioritizes instant drainage. A proven, professional-grade recipe for indoor desert cacti consists of a simple 1:1:1 volumetric ratio:
-
1 Part Organic Matter: Use a basic, organic potting soil or coco coir to give the roots a loose anchor and a minimal baseline of nutrients. Ensure it contains no added water-retaining crystals.
-
1 Part Coarse Aggregate: Incorporate horticulturally graded pumice or coarse perlite to create vital air pockets in the soil. Pumice is the superior choice for large indoor specimens because its weight anchors top-heavy pads, preventing the pot from tipping over.
-
1 Part Sharp Horticultural Sand: Mix in coarse sand, poultry grit, or fine gravel. Never use fine play sand or beach sand, as it packs tightly like wet cement when wet, smothering the roots.
Container Mechanics
The pot you select is just as important as the soil inside it. First, a drainage hole is completely non-negotiable. Never plant a Santa Rita in a solid container or glass jar without drainage holes. Second, choose unglazed terracotta. Terracotta is a porous, breathable clay material that actively wicks excess moisture out through the sides of the walls, accelerating the drying process of the soil.
6. Temperature and Humidity Control in the Home
Indoor environments are typically optimized for human comfort, maintaining a steady temperature and a level of humidity that can prove challenging for desert species like the Opuntia santa-rita.
Temperature Dynamics
Indoors, they adapt well to standard household temperatures between 21°C to 30°C (70°F to 85°F) during the spring and summer growing seasons. During the winter dormancy period, however, keeping the plant in a slightly cooler room—around 10°C to 15°C (50°F to 60°F)—can be incredibly beneficial. This cooler environment mimics winter desert nights, working in tandem with reduced watering to trigger the production of the vibrant purple pigments.
The Humidity Threat
High humidity is a major enemy of the Santa Rita. While tropical houseplants thrive in high humidity, this cactus prefers dry, arid air—ideally 10% to 40% humidity. Avoid placing this plant in naturally humid domestic zones like kitchens or bathrooms. If you live in an inherently humid climate, running a small personal fan near your cactus collection to maintain constant air circulation will significantly lower the risk of fungal spot diseases.
7. Step-by-Step Propagation: Growing New Pads Safely

One of the most rewarding aspects of keeping a Opuntia santa-rita is its ease of propagation. Because these plants grow by producing distinct, segmented pads, you can easily take a cutting to create an entirely new plant. Keep your leather gloves and kitchen tongs close by and follow these steps:
-
The Separation: Firmly but gently grip the chosen upper pad with your kitchen tongs. Using a sterilized blade, make a clean cut right at the narrow joint where it connects to the mother plant. Avoid twisting or tearing the tissue.
-
The Callusing Phase: Do not plant the pad immediately. The fresh cut exposes raw, wet inner tissues that will rot if placed directly into soil. Place the severed pad flat on a dry sheet of cardboard in a warm room out of direct sunlight for 3 to 7 days. The raw cut will dry out and form a tough, tan-colored scar tissue known as a callus.
-
Potting and Rooting: Fill a terracotta pot with your dry DIY cactus mox. Insert the calloused base of the pad about 1 to 2 inches deep into the soil—just deep enough for it to stand upright on its own.
-
The Waiting Period: Do not water the newly potted pad. It currently has no root system and cannot absorb water. Place the pot in bright, indirect light and leave it completely dry for the first 3 to 4 weeks. After a month, the base will begin pushing out opportunistic roots, at which point you can give it a gentle drink and gradually introduce it to full sun.
8. Troubleshooting Common Indoor Issues
1. Loss of Purple Coloration
If your once-vibrant purple cactus is turning a flat, uniform green, it is telling you that its environment is too stable and lacks the necessary triggers for anthocyanin production. To fix this, increase its light exposure by adding an LED grow light or moving it to a hotter South-facing window, and ensure you let the soil dry out completely.
2. Brown, Woody Base (Corking)
If the lower trunk or oldest pads of your mature cactus are turning a rough, tan, bark-like brown, do not panic. This is a natural physiological process known as corking. As a cactus grows larger and heavier, the oldest tissue hardens to transform into a woody structure capable of supporting the massive weight of the upper pads. As long as this tissue is hard and firm, your plant is perfectly healthy.
3. Soft, Yellowing Decay (Root Rot)
Unlike corking, if the base of your plant is soft, dark, slimy, or weeping fluid, you are dealing with advanced root rot from overwatering. Root rot cannot be reversed. The only way to save your specimen is to cut completely above the rotted section into clean, healthy, vibrant tissue. Let this clean top cutting callus over for a week, then propagate it as a new plant, discarding the rotted root base and contaminated soil entirely.
9. Frequently Asked Questions
Does the Santa Rita cactus bloom indoors?
In the spring, wild Santa Ritas produce large, striking, paper-thin yellow flowers that create a beautiful contrast against the purple pads. Indoors, however, blooming is exceptionally rare. Cacti require an intense, uninterrupted winter dormancy period with specific temperature drops and high UV exposure to develop flower buds, conditions that are very difficult to replicate inside a standard living room.
How big do Santa Rita prickly pears get when grown in a pot?
In the wild, a mature Opuntia santa-rita can form a massive shrub reaching 4 to 6 feet tall and wide. However, when grown indoors within the confines of a container, its growth rate slows dramatically. Expect an indoor potted specimen to top out around 1.5 to 3 feet tall over several years, easily controlled through selective pruning.
Are the fruits and pads of the indoor Santa Rita cactus edible?
Yes, the pads (nopales) and the deep red fruits (tunas) are technically edible. However, because indoor houseplants are often treated with fertilizers or pest controls not rated for food production, it is highly recommended to keep your indoor Santa Rita purely as an ornamental specimen.
10. Conclusion & Final Takeaways
The santa rita prickly pear cactus is an exceptional indoor plant choice for the patient, intentional gardener who appreciates bold architectural forms and dynamic color changes. While it cannot be treated like a typical tropical houseplant, mastering its care is incredibly straightforward once you understand its desert roots.
By providing a porous terracotta home, utilizing a custom gritty substrate mix, respecting the absolute dryness of the “soak and dry” watering method, and reinforcing its environment with powerful supplemental lighting, you can successfully cultivate a striking piece of the American desert right inside your home. Protect yourself from the glochids, listen to what the pads are telling you through their texture, and enjoy the rewarding experience of growing one of nature’s most stunning living sculptures.