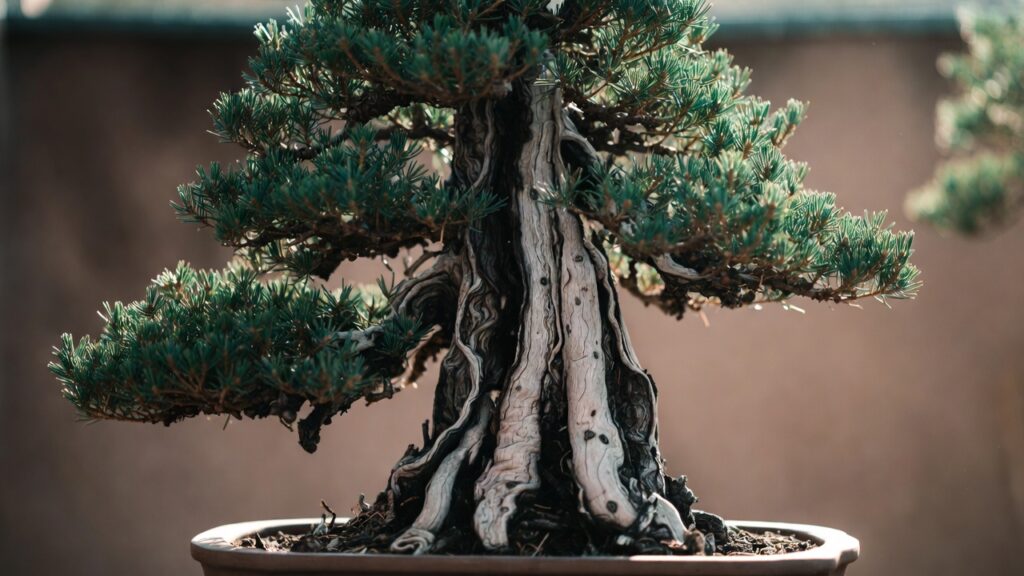
Picture this: You bring home a gorgeous, meticulously wired Juniper bonsai. You place it on your coffee table, mist it daily, and within six weeks, the needles turn brown and the tree is dead. It is a heartbreaking rite of passage for almost every indoor gardener. Traditional hardwood bonsais require intense humidity, strict winter dormancy, and precise watering that makes them incredibly difficult to keep alive indoors.
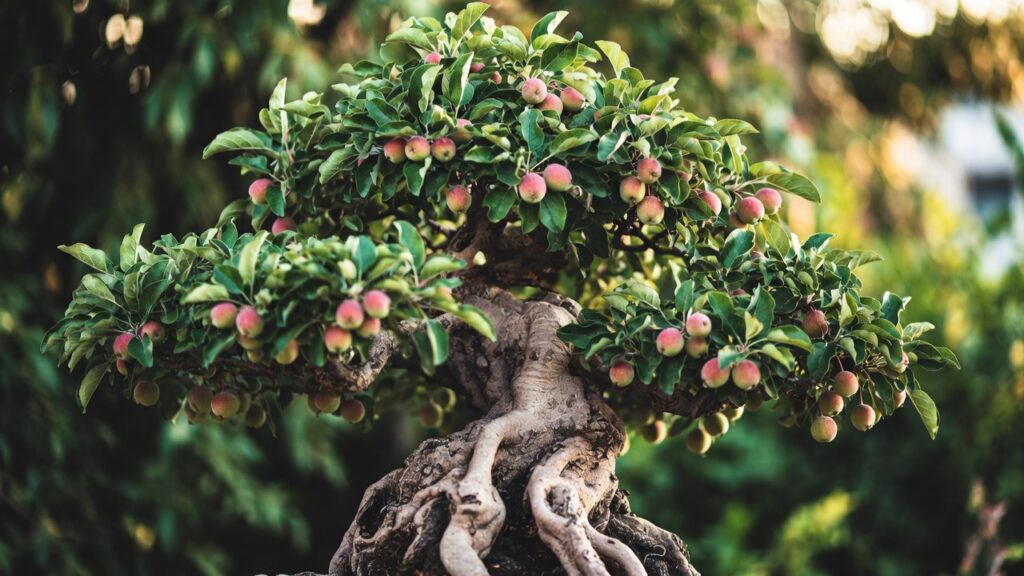
There is, however, a perfect alternative. If you want the ancient, thick-trunked aesthetic of a miniature tree without the constant heartbreak, you need to cultivate a jade plant bonsai.
Over years of diagnosing failing houseplants—from tragic cases of root rot in pothos to fungal outbreaks on ferns—I have seen time and time again that the Jade plant (Crassula ovata) is the ultimate survivor. It thrives on benign neglect, tolerates dry indoor air, and naturally develops a rugged, tree-like bark as it matures. By the end of this comprehensive guide, you will know exactly how to select, prune, wire, and troubleshoot a spectacular miniature tree, entirely stress-free.
Understanding Your Canvas: The Two “Jade” Bonsais

Before you make your first pruning cut, you need to know exactly what species you are working with. The nursery industry frequently labels two completely different plants as “Jades,” and while both make exceptional bonsai candidates, they grow slightly differently.
Crassula ovata (The True Jade)
This is the classic, thick-leaved succulent most people picture. Native to South Africa, it stores massive amounts of water in its leaves and trunk. For bonsai purposes, enthusiasts often seek out specific cultivars with smaller leaves or interesting growth habits, such as ‘Gollum’ (often called the Finger Jade due to its tubular leaves) or ‘Hummel’s Sunset’, which develops brilliant yellow and red foliage under high light.
Portulacaria afra (The Dwarf Jade / Elephant Bush)
While completely unrelated to Crassula ovata, this plant is widely sold as the “Dwarf Jade.” It features dark, reddish-mahogany stems and naturally tiny, tear-drop-shaped leaves. Because the leaves are already miniaturized, it requires less work to achieve the proper scale of a bonsai tree, making it incredibly popular among artists.
Key Differences at a Glance
Setting the Foundation: Optimal Environment and Care
A bonsai is only as beautiful as it is healthy. Because you are restricting the root system in a small pot, providing the perfect external environment is non-negotiable.
Let There Be Light (The Secret to Red Edges)
Light is the single most critical factor in indoor succulent bonsai cultivation. Without adequate light, your tree will stretch toward the window, resulting in “leggy” growth with long internodes (the space between leaves). This ruins the illusion of a compact, miniature tree.
Place your plant directly in your brightest south-facing or west-facing window. Full, direct sun not only keeps the growth dense and tight, but it also stresses the plant just enough to bring out the highly desirable, vivid red margins on the edges of the leaves. If you do not have a brightly lit window, investing in a full-spectrum LED grow light is highly recommended.
Temperature and Airflow
Jades prefer temperatures between 65°F and 75°F (18°C to 24°C) during the day, and slightly cooler at night. They are highly adaptable to standard indoor climates but are completely intolerant of frost. A sudden freeze will burst their water-filled cells, turning the plant to mush overnight. Ensure good air circulation around the canopy to prevent stagnant moisture, which can invite fungal issues.
The “Soak and Dry” Watering Method
Overwatering is the number one killer of indoor succulents. Remember that a Jade is essentially a living water reservoir. If you water it on a strict weekly schedule regardless of the soil condition, the roots will suffocate and rot.
Wait until the soil is 100% dry all the way to the bottom of the pot. A visual cue is the leaves: when a Jade is fully hydrated, the leaves are plump and rock-hard. When it is thirsty, the leaves will lose their high gloss, become slightly soft to the touch, and may develop faint wrinkles. When you see this, soak the soil completely until water pours out of the drainage holes, then let it dry out completely again.
Feeding Your Bonsai for Thicker Trunks
To build a thick, impressive trunk, your tree needs nutrients. During the active growing season (Spring and Summer), feed your plant every two to four weeks with a balanced, water-soluble fertilizer diluted to half strength. Stop fertilizing completely in the late Fall and Winter when the plant’s metabolism slows down.
The Right Gear: Soils, Pots, and Essential Tools
Using the right equipment separates a healthy bonsai from a struggling houseplant. Treat your setup with the same rigor you would when selecting premium outdoor power equipment—quality matters.
Crafting the Perfect Fast-Draining Soil Mix
Never use standard, straight-out-of-the-bag potting soil for a succulent bonsai. It retains moisture for far too long. You need an aggregate-heavy mix that drains rapidly and allows oxygen to reach the roots.
A professional-grade mix should be predominantly inorganic. Blend one part high-quality organic potting soil with two parts inorganic grit, such as pumice, perlite, or calcined clay. Alternatively, purchasing a pre-mixed, premium succulent or bonsai soil will save time and guarantee optimal drainage.
Choosing a Bonsai Pot
The pot is the frame for your living artwork. Bonsai pots are intentionally shallow to restrict downward taproot growth, forcing the roots to spread laterally. This root restriction is what naturally dwarfs the foliage over time. Ensure the pot has at least two large drainage holes. Unglazed ceramic pots are excellent for succulents because the porous clay allows excess moisture in the soil to evaporate through the walls of the pot.
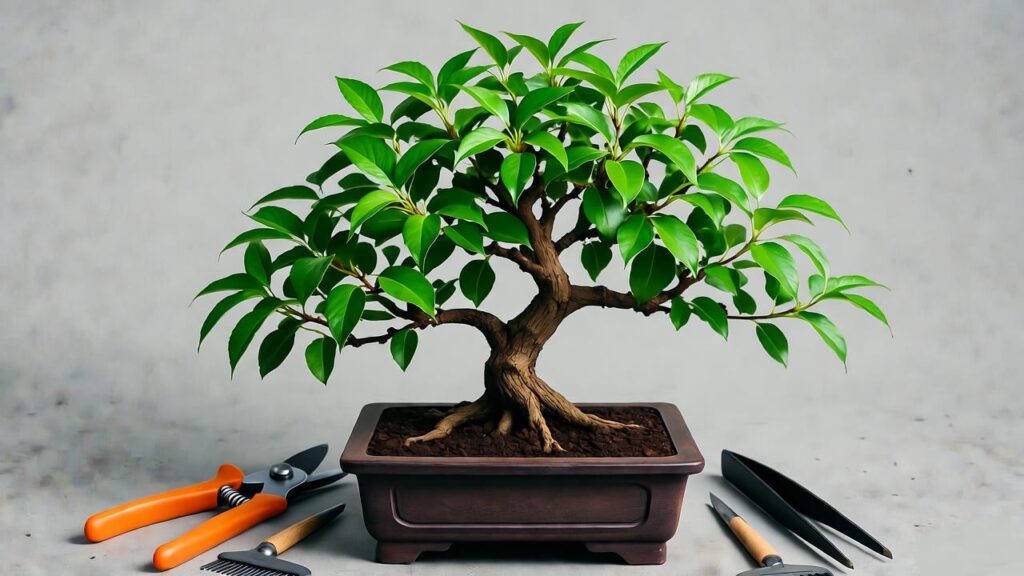
The Beginner’s Bonsai Tool Kit
You do not need a massive tool roll to start, but three specific tools are essential for achieving clean results:
-
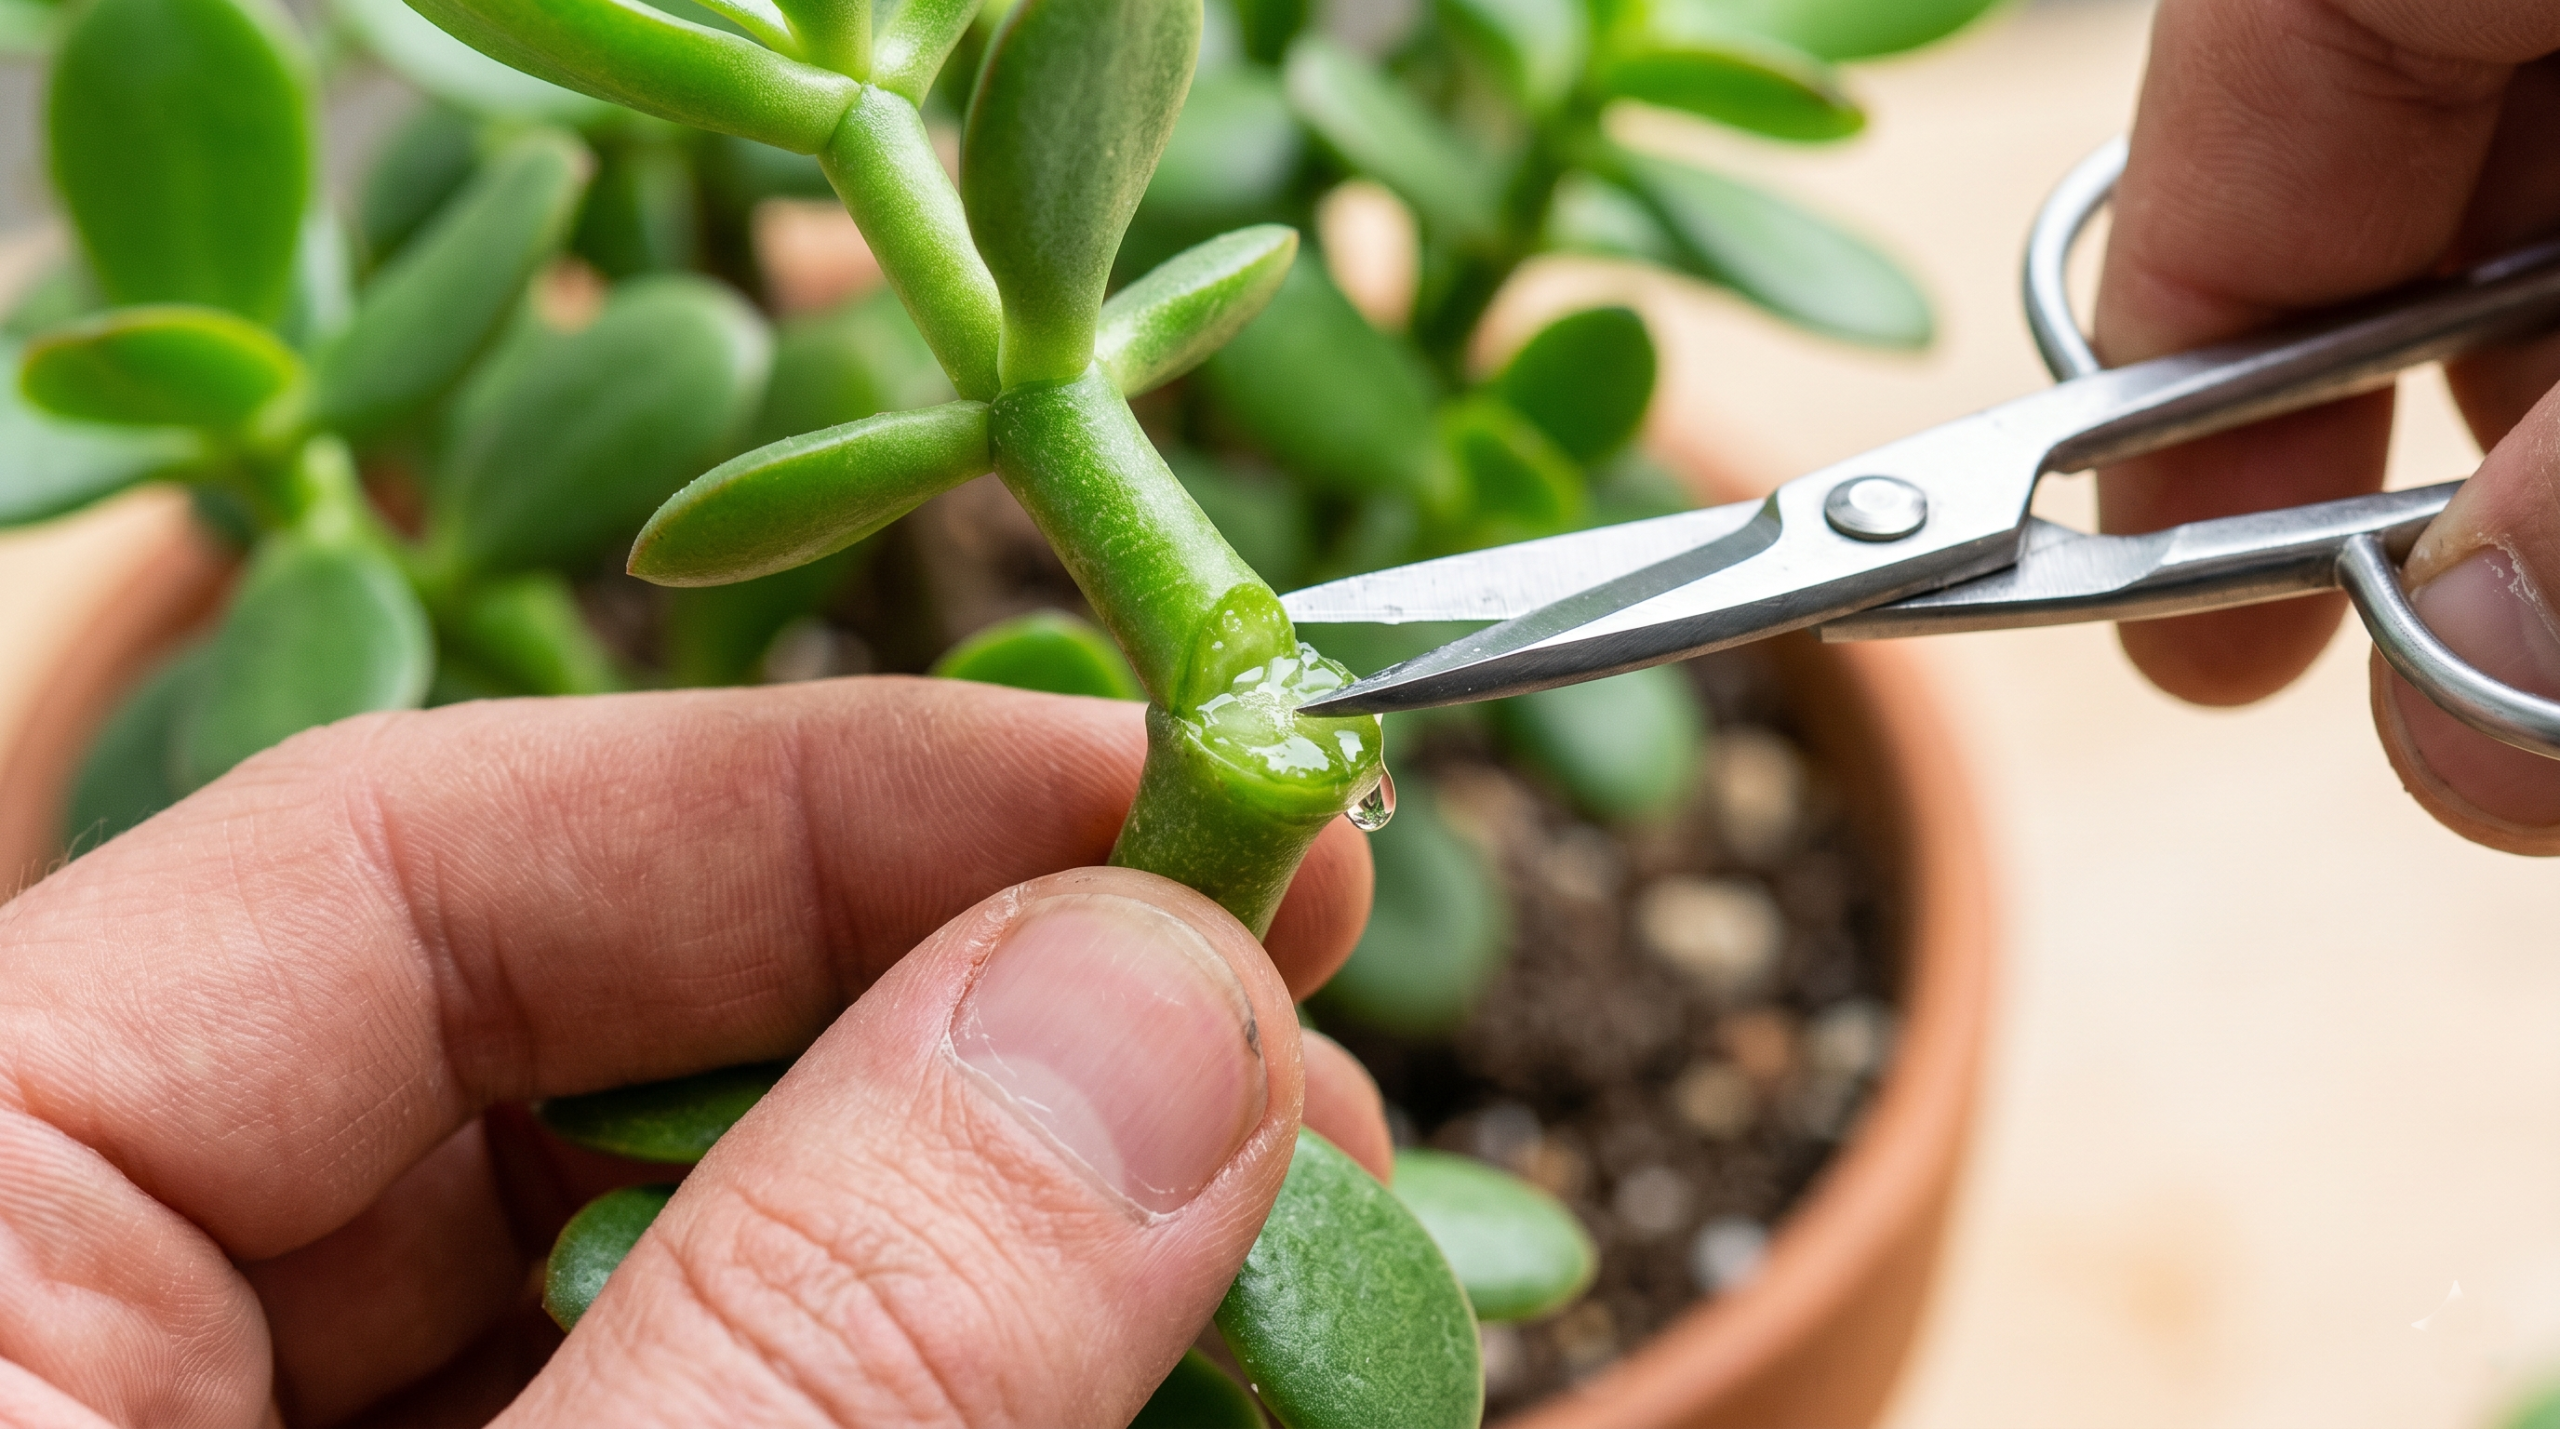
Concave Cutters: Unlike standard household scissors that crush the stem as they cut, concave cutters cleanly slice through the branch, leaving a slight indentation that heals over smoothly without an ugly, bulging scar.
-
Aluminum Wire: Hardwoods often require rigid copper wire, but copper will dig into and damage the soft, fleshy bark of a succulent. Anodized aluminum wire is softer, highly pliable, and perfect for gently bending branches.
-
Root Chopsticks: A simple bamboo chopstick is the safest tool for teasing apart tangled root balls during repotting without tearing the delicate feeder roots.
The Art of Shaping: Pruning and Wiring
This is where horticulture becomes art. Shaping your tree is a slow, rewarding process of addition through subtraction.
Structural Pruning (Trunk and Branch Reduction)
When you first buy a nursery plant, it will likely look like a messy, chaotic bush. Your job is to find the “tree hiding inside.” Look for a strong, central trunk line. Remove branches that cross over each other, branches that grow straight down, or multiple branches growing from the exact same spot on the trunk (which causes unsightly bulging).
Jades respond incredibly well to hard pruning. Often, when you cut a branch just above a leaf node, the plant will push out two brand-new branches from that exact spot. This allows you to rapidly build a dense, ramified canopy.
Pro Tip: Do not use bonsai cut-paste or wound sealants on your cuts. Succulents heal best in open air. Leaving the wound exposed allows it to quickly dry and callous over. Sealing a wet, fleshy cut can trap moisture and invite rapid bacterial rot.
Pinching for Ramification
Once your main branches are established, you want to encourage smaller, denser foliage. You achieve this through “pinching.” As a new branch extends and produces leaves, simply use your thumb and index finger to gently pinch out the newest, tiny set of leaves at the very tip. This stops the branch from lengthening and forces the tree to push energy backward, creating a tighter canopy.
Wiring a Succulent (Proceed with Caution)

Wiring allows you to bend branches downward to simulate the weight of age, or to reposition branches into empty spaces in the canopy. Because Jade branches are pumped full of water, they are extremely brittle and snap easily. The secret to wiring a succulent is to withhold water for a week or two beforehand. As the plant becomes slightly dehydrated, the branches become limp, rubbery, and highly flexible. Apply the aluminum wire at a 45-degree angle, gently bend the branch into position, and then water the plant. As the branch rehydrates and plumps up, it will lock into its new position. Remove the wire carefully after a few months before it bites into the growing bark.
Repotting Your Jade Bonsai Like a Pro

Because they are contained in small spaces, bonsais require periodic repotting to replenish exhausted soil and prune overgrown roots.
When to Repot
Plan to repot every two to three years. The best time is in early Spring, just as the plant is waking up for its active growing season.
Step-by-Step Repotting Guide
-
Extraction: Gently remove the tree from its current pot.
-
Combing: Use your wooden chopstick to carefully rake outward from the base of the trunk, untangling the roots and removing the old, compacted soil.
-
Root Pruning: Using sharp shears, cut away thick, downward-pointing taproots. Your goal is to create a flat, fibrous pancake of roots that sits comfortably in a shallow pot.
-
Anchoring: Pass an aluminum wire through the drainage holes of your new pot and tie the root ball down firmly. Succulents are top-heavy; if the tree wobbles in the wind or when moved, the newly forming micro-roots will tear.
-
The Golden Rule: Do not water immediately. After cutting succulent roots, placing them in wet soil is a guaranteed recipe for rot. Place the newly potted tree in a shady spot and wait 7 to 10 days before giving it its first deep watering. This allows all cut roots to heal and callous.
Diagnostic Guide: Troubleshooting Common Problems
Even the most durable plants occasionally run into issues. Diagnosing visual symptoms early is the key to intervention. Look closely at the foliage and stems to determine what the plant needs.
Bright Yellowing, Mushy, or Dropping Leaves
-
The Diagnosis: This is the classic presentation of severe overwatering, poor soil drainage, or full-blown root rot. The leaves may look translucent or feel like water balloons before dropping off at the slightest touch.
-
The Solution: Immediately stop watering. Unpot the tree and inspect the root system. Healthy roots are firm and white or tan. Rotting roots are dark black, slimy, and smell foul. Trim away all black roots, let the plant air dry unpotted for 24 hours, and repot in fresh, dry, highly inorganic soil.
Shriveled, Wrinkled, and Thin Leaves
-
The Diagnosis: The plant is severely dehydrated. The roots have exhausted all moisture in the soil and the plant is now drinking the water stored inside its own leaves.
-
The Solution: If the soil is bone dry, submerge the entire pot in a bowl of water up to the soil line for 20 minutes (bottom watering) to ensure the hydrophobic soil fully rehydrates. The leaves should plump back up within 48 hours.
White Cotton-Like Masses in the Branch Joints
-
The Diagnosis: Mealybugs. These sap-sucking insects love hiding in the tight crevices of bonsais, weakening the tree over time.
-
The Solution: Dip a cotton swab in 70% isopropyl rubbing alcohol and dab it directly onto the pests to kill them instantly. Follow up with a thorough spray of horticultural Neem oil, ensuring you coat the undersides of the leaves.
Bonus: How to Propagate Your Prunings for Free Bonsais
One of the greatest joys of working with this species is that every mistake or pruning cut is a new opportunity. You can easily clone your tree.
When you prune away a thick branch that doesn’t fit your design, do not throw it away. Leave the cutting on your kitchen counter for three to five days until the cut end forms a dry, hard callous. Stick the calloused end into a small pot of dry bonsai soil and place it in bright, indirect light. Do not water it for two weeks. The cutting will intuitively push out new roots in search of water, giving you a brand new, genetically identical tree to shape and grow.
Frequently Asked Questions (FAQ)
How long does it take to grow a jade plant bonsai? While it takes decades to grow a thick-trunked hardwood bonsai, a Jade can look like a convincing, aged miniature tree in just 3 to 5 years, making it incredibly rewarding for beginners.
Can my tree live outdoors? Yes, but only during the summer. Moving your tree outdoors once all danger of frost has passed will result in explosive, vigorous growth. However, you must transition it slowly into direct sunlight over a week to prevent the fleshy leaves from sunburning, and bring it back indoors before autumn temperatures drop below 50°F (10°C).
Why isn’t my trunk getting thicker? Trunk thickening requires unimpeded growth. If you constantly pinch and prune every new leaf, the trunk will not expand. To build a massive trunk, you must put the tree in a larger “training pot” and let it grow wild and bushy for a year or two without pruning. The more foliage the plant has, the more energy it sends down to thicken the trunk.
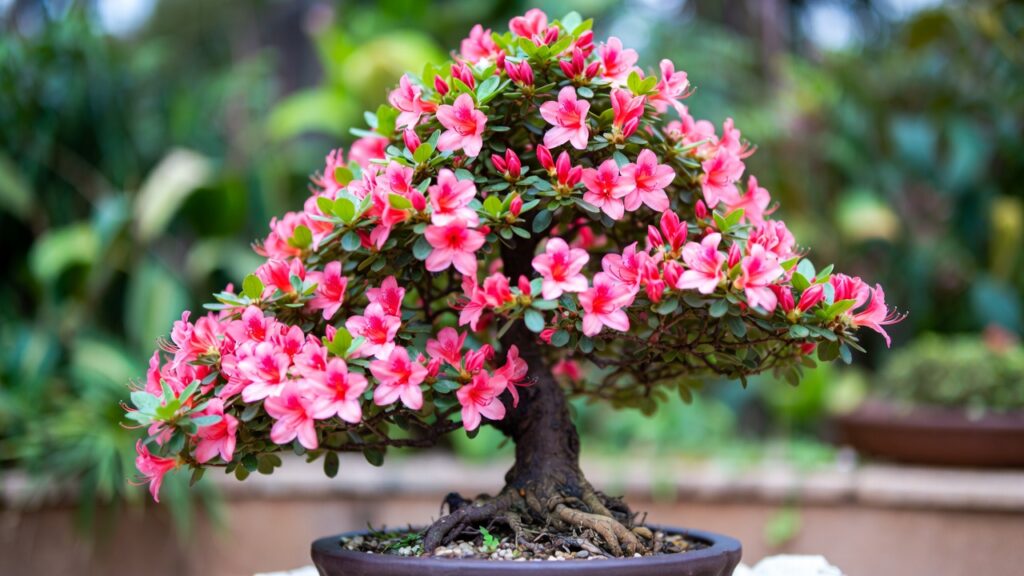
Do they ever flower? Yes! Mature Crassula ovata can produce beautiful clusters of star-shaped white or pale pink flowers in the late winter. However, flowering requires a mature plant, excellent lighting, and a distinct drop in nighttime temperatures during the fall.
Conclusion

Mastering the ancient art of miniature trees does not have to be an exercise in frustration and dead plants. By selecting the right species, providing aggressive drainage, maximizing light, and understanding the unique cellular structure of succulents, anyone can cultivate a breathtaking piece of living art.
Grab a sharp pair of shears, a bag of pumice-rich soil, and an overgrown nursery plant, and start carving out the tree hiding inside. With patience and consistent observation, your new bonsai will easily outlive the pots it is planted in.