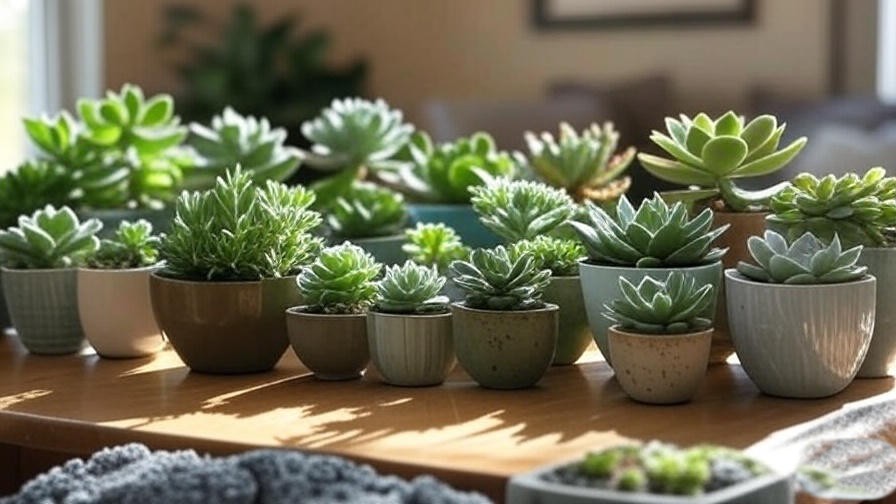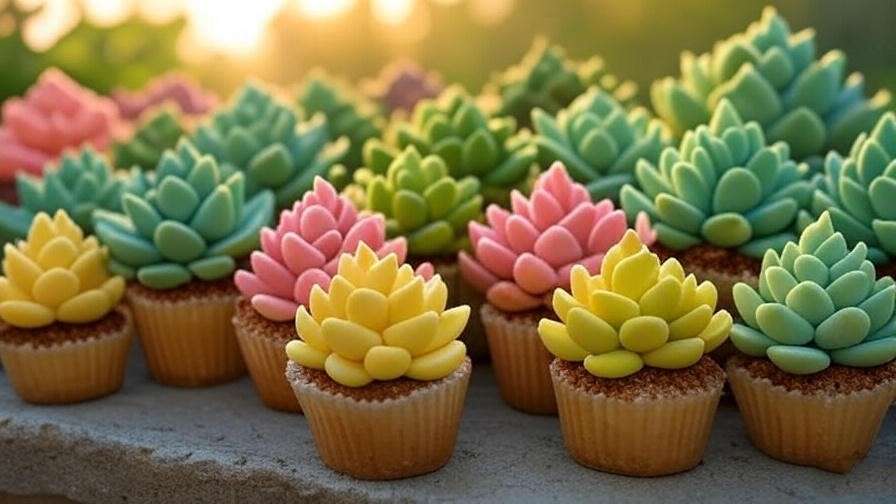
Picture this: a windowsill bursting with tiny, vibrant plants shaped like cupcakes, their plump leaves mimicking creamy frosting swirls, instantly transforming your home into a botanical bakery. These cupcake succulents are not just a quirky decor trend—they’re a game-changer for indoor gardening enthusiasts craving low-maintenance greenery with high visual impact. As a horticulturist with over 15 years of experience cultivating succulents in urban settings, I’ve seen how these delightful creations solve the challenge of limited space while sparking joy for beginners and experts alike. Whether you’re sprucing up a small apartment or seeking a creative outlet, this comprehensive guide will teach you how to craft, care for, and display cupcake succulents with ease. By the end, you’ll have the expertise to grow these adorable indoor plants and elevate your living space with sustainable charm.
What Are Cupcake Succulents?
Understanding the Concept
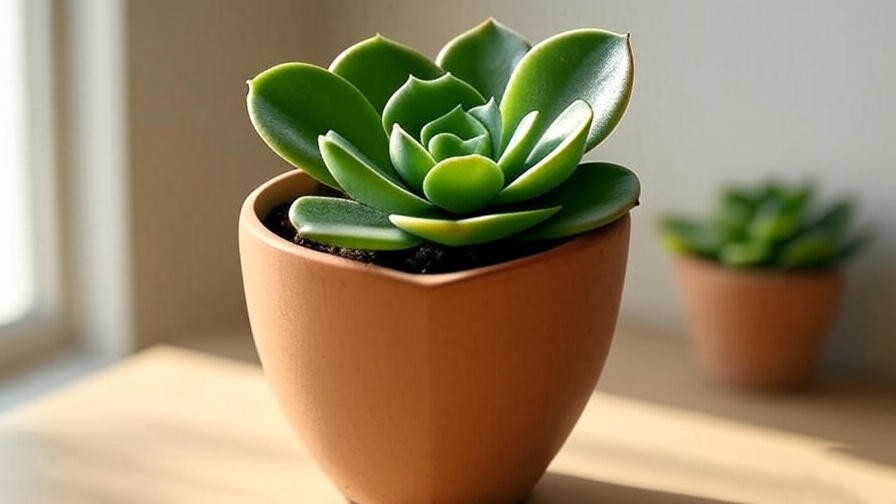
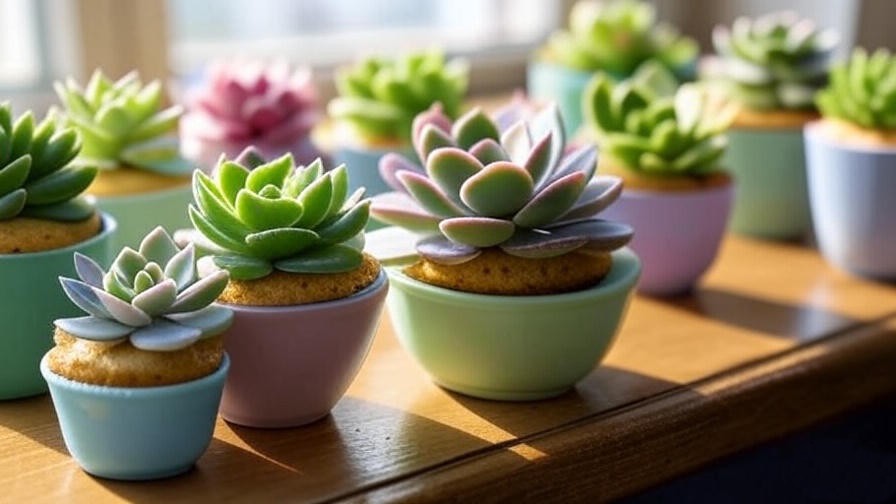
Cupcake succulents are creative arrangements where small, rosette-shaped succulents are potted in containers designed to resemble cupcakes—think silicone molds, decorative pots, or even paper liners. Their naturally compact, layered leaves mimic the look of piped frosting, making them a perfect blend of nature and artistry. These setups are ideal for indoor environments, offering a playful way to bring greenery into tight spaces.
Why They’re Perfect for Indoor Gardening
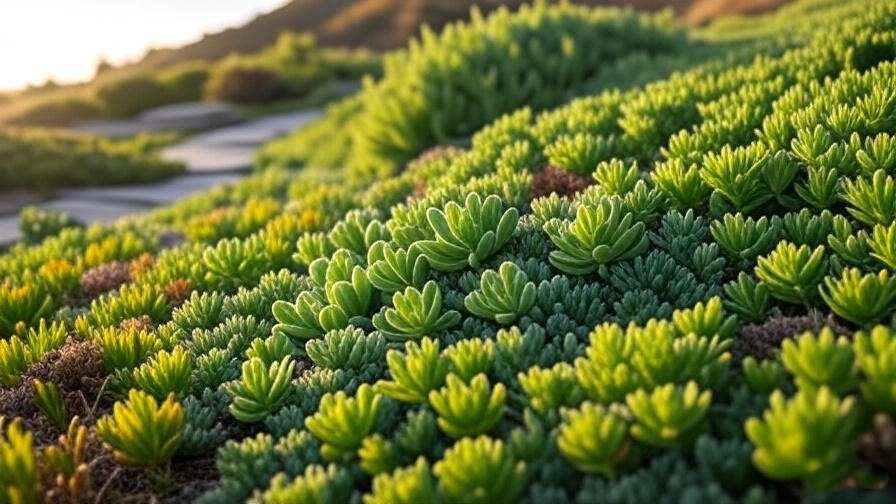
For urban dwellers or those with limited gardening space, cupcake succulents are a dream. Their drought-tolerant nature means they thrive with minimal watering, addressing common issues like overwatering or neglect. As someone who’s advised countless beginners, I can attest that their forgiving care requirements make them ideal for novice plant parents. Plus, studies from the University of Kansas show indoor plants like succulents can reduce stress and improve air quality, adding wellness benefits to their aesthetic appeal.
History and Popularity
The cupcake succulent trend took root in the early 2010s, fueled by DIY communities on platforms like Pinterest and Instagram. Crafters began experimenting with succulent arrangements in whimsical containers, and the idea exploded. Today, these creations are celebrated in gardening circles, with events like the Cactus and Succulent Society’s annual shows highlighting their versatility. Their rise reflects a growing demand for sustainable, low-maintenance decor that fits modern lifestyles.
Choosing the Right Succulents for Your Cupcake Creations
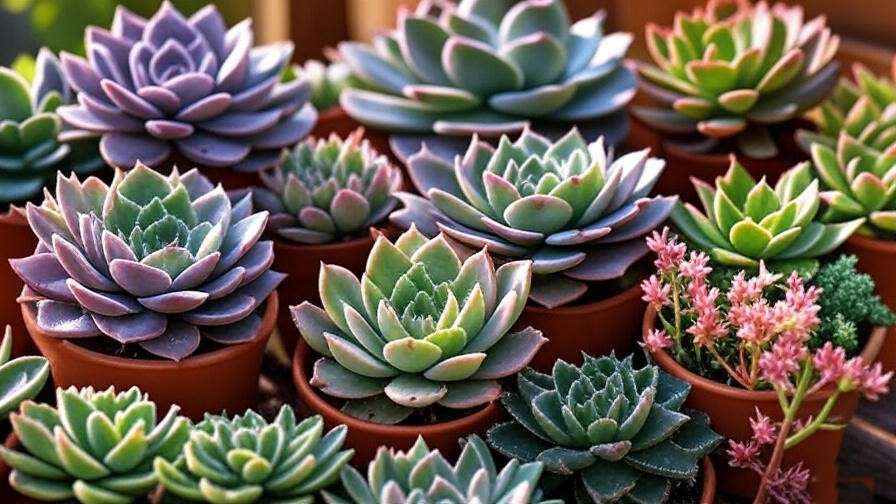
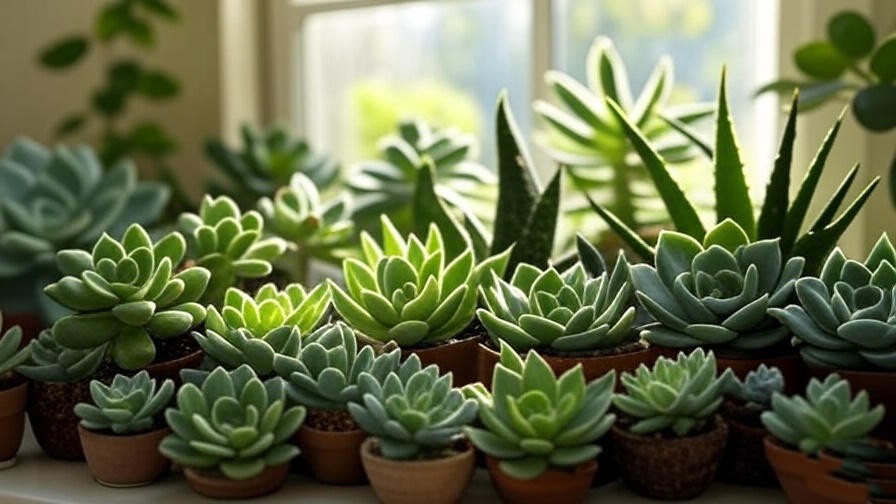
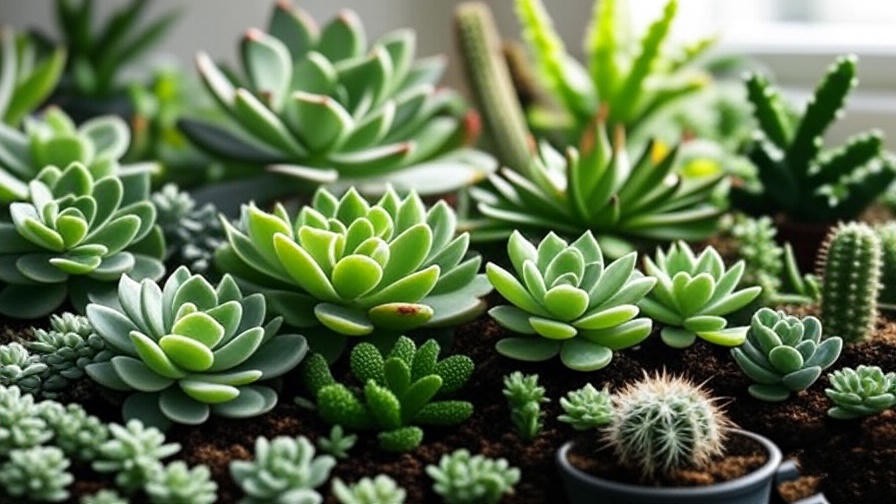
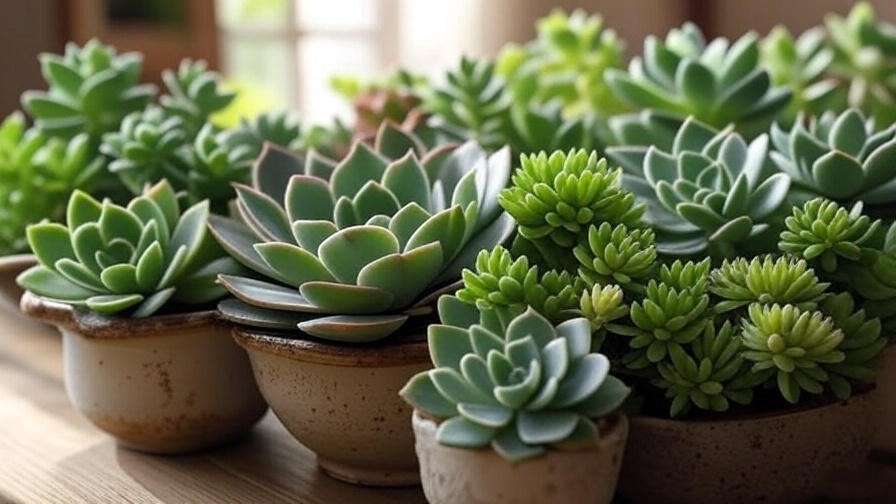
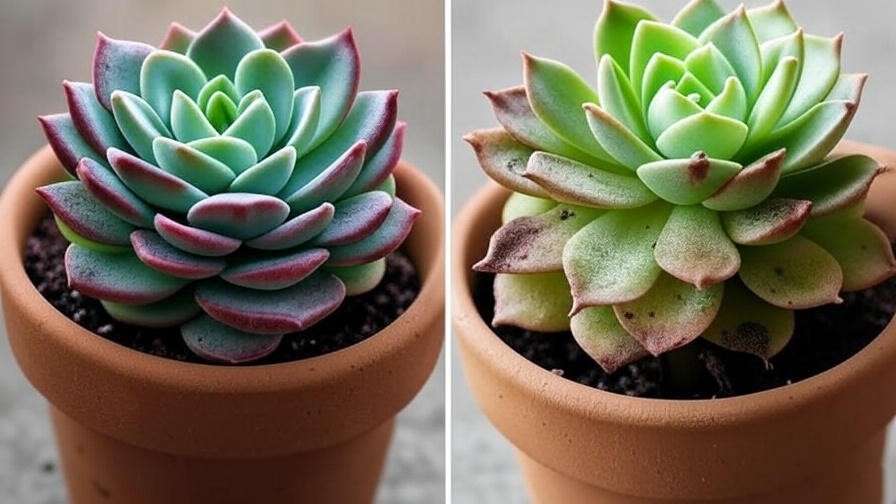
Best Succulent Varieties for Cupcake Shapes
To achieve that signature cupcake succulent look, focus on varieties with rosette or compact growth patterns:
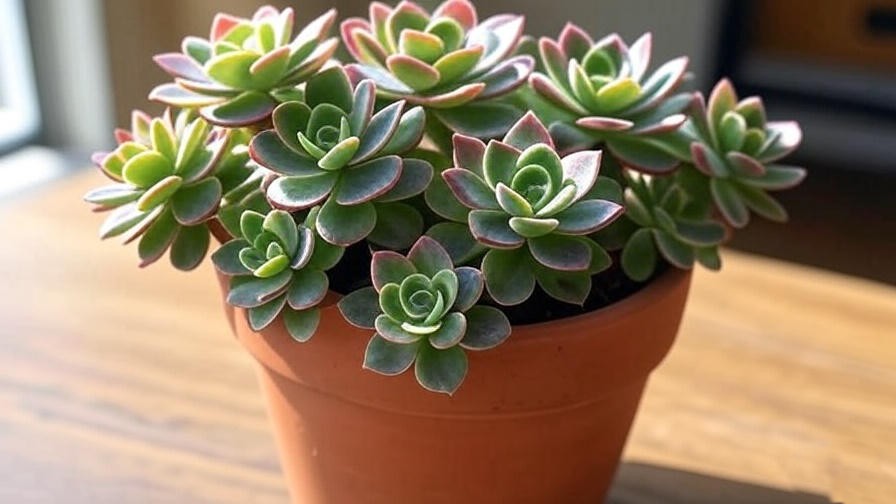
- Echeveria: Varieties like Echeveria ‘Perle von Nurnberg’ (pale purple) or ‘Lola’ (powdery blue) form tight, frosting-like rosettes.
- Sempervivum: Known as hens-and-chicks, these hardy plants create layered, textured displays.
- Haworthia: Compact and shade-tolerant, Haworthia fasciata is perfect for low-light homes.
- Sedum: Trailing types like Sedum ‘Burrito’ add a dangling “sprinkle” effect.
Factors to Consider When Selecting Plants
- Size: Choose 2-4 inch succulents to fit cupcake-sized containers without overcrowding.
- Color and Texture: Mix greens, purples, and variegated hues for visual depth. Powdery or fuzzy textures enhance the dessert-like aesthetic.
- Hardiness: Opt for drought-tolerant species to ensure longevity with minimal care.
Where to Source Quality Succulents
For healthy plants, shop from trusted nurseries like Mountain Crest Gardens or Succulents Box, which offer curated collections. As an expert, I always check for vibrant leaves and firm roots to avoid pests or weak stock. Local plant swaps or botanical garden sales can also yield unique finds, ensuring you’re supporting reputable growers.
Materials and Tools Needed for DIY Cupcake Succulents

Essential Supplies
To craft your cupcake succulents, gather:
- 4-6 small succulents per arrangement
- Cupcake liners, silicone molds, or small ceramic pots (food-safe silicone is reusable)
- Well-draining cactus/succulent soil mix
- Decorative elements: Pebbles, moss, or mini figurines for flair
Optional Add-Ons for Customization
- Colored sand or gravel to mimic icing
- LED grow lights for low-light environments
- Propagation tools (e.g., rooting hormone) for future expansions
Budget Tips from an Expert
Kits from Etsy or Amazon, priced around $20-30, often include pre-selected succulents and containers, saving time and reducing waste. Alternatively, repurpose household items like teacups for a budget-friendly twist, as I’ve done in my own displays.
Step-by-Step DIY Guide to Creating Cupcake Succulents
Preparation: Setting Up Your Workspace
Choose a well-lit, clean area to work. Wear gloves to protect against soil and spines, and lay down newspaper for easy cleanup.
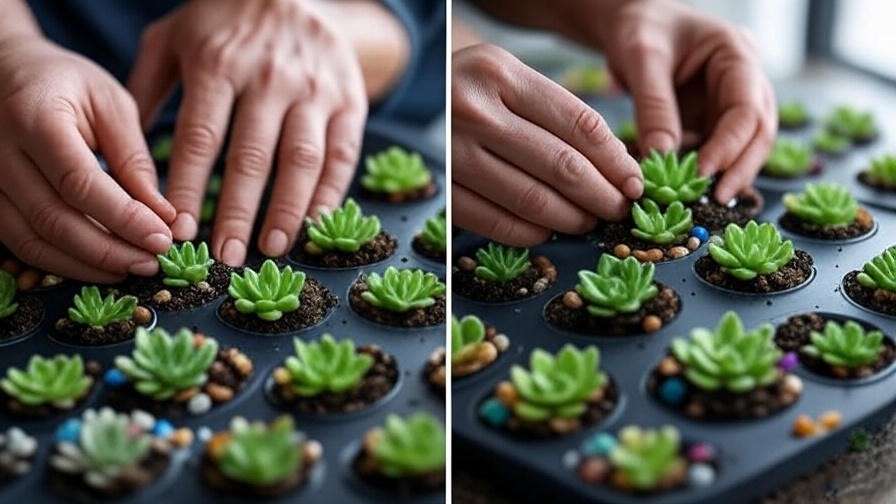
Step 1: Preparing the Container
If using silicone molds, add a thin layer of gravel for drainage. For paper liners, poke small holes in the bottom to prevent water buildup.
Step 2: Soil and Planting
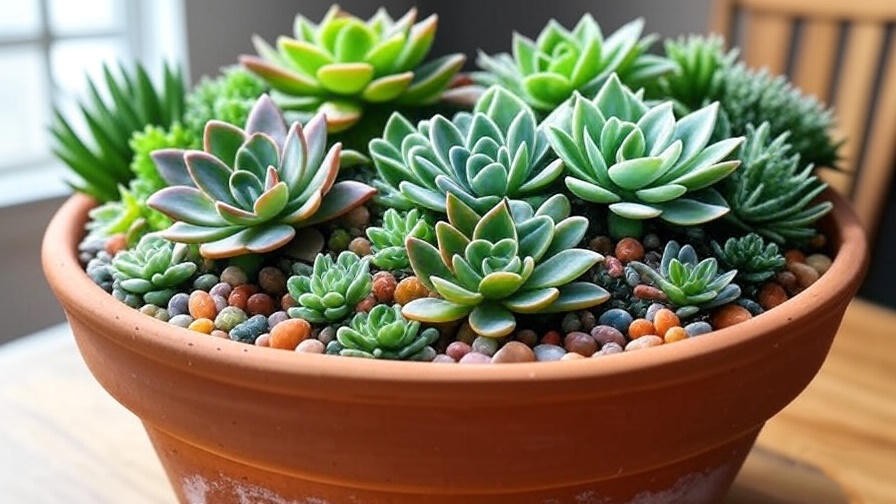
Fill the container two-thirds with a gritty, well-draining soil mix. Gently remove succulents from their pots, shake off excess soil, and loosen roots. Position the main rosette in the center for the “frosting” effect.
Step 3: Arranging and Layering
Place smaller succulents or offsets around the edges to create an overflowing cupcake look. Top with pebbles or colored sand to mimic sprinkles or icing.
Step 4: Final Touches
Water lightly (about a tablespoon) and let the arrangement settle. Cure in indirect light for 24 hours to help roots establish.
Common Mistakes to Avoid
Overpacking plants can trap moisture and cause rot. Ensure adequate spacing for airflow, a lesson I learned after losing an early arrangement to poor planning.
Comprehensive Care Guide for Thriving Cupcake Succulents
Light Requirements
Cupcake succulents need 4-6 hours of bright, indirect sunlight daily. South-facing windows are ideal, but east or west work too. In low-light homes, I recommend affordable LED grow lights (like those from GE) to prevent stretching.
Watering Best Practices
Water every 2-3 weeks when the soil is completely dry. Use the “soak and dry” method: thoroughly wet the soil, then let it dry out fully to avoid root rot. A spray bottle or small watering can ensures precision.
Soil and Fertilization
Stick to a cactus/succulent soil mix with perlite or pumice for drainage. Fertilize monthly during spring and summer with a diluted (half-strength) succulent fertilizer to boost growth without burning roots.
Temperature and Humidity
Maintain 65-80°F (18-27°C) and low humidity. Avoid placing near humid areas like bathrooms, as excess moisture can harm succulents.
Pruning and Maintenance
Trim dead or yellowing leaves with sterilized shears to prevent disease. Rotate your cupcake succulents every few weeks for even light exposure, ensuring balanced growth.
Expert Insight: Seasonal Adjustments
In winter, reduce watering to once a month to mimic the plants’ natural dormancy. I’ve found this adjustment critical after observing slower growth in my own collection during colder months.
Propagation: Expanding Your Cupcake Succulent Collection
Methods for Beginners
Propagation lets you grow your cupcake succulent collection for free:
- Leaf Propagation: Twist off a healthy leaf, let it callous, and place on soil.
- Offsets: Separate “pups” (baby plants) from the mother plant and replant.
Step-by-Step Propagation Process
- Gently remove leaves or offsets, ensuring clean breaks.
- Let ends callous for 2-3 days in a dry, shaded spot.
- Place on moist (not wet) soil in indirect light.
- Mist lightly every few days until roots form (2-4 weeks).
Troubleshooting Propagation Issues
If roots don’t form, check for excess moisture or insufficient light. In humid climates, I’ve had to air-dry leaves longer to prevent rot.
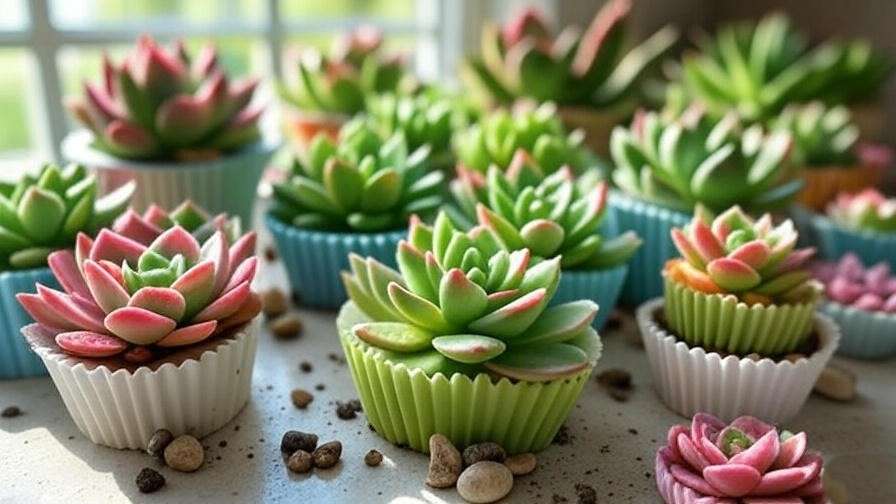
Creative Ways to Display Cupcake Succulents Indoors
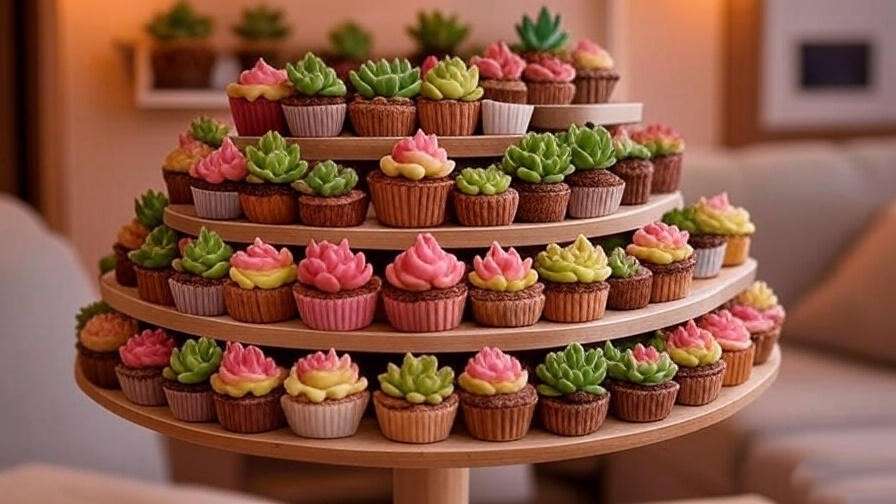
Tabletop and Shelf Ideas
Group cupcake succulents on tiered stands or trays for a bakery-inspired centerpiece. Mix heights and colors for a dynamic look.
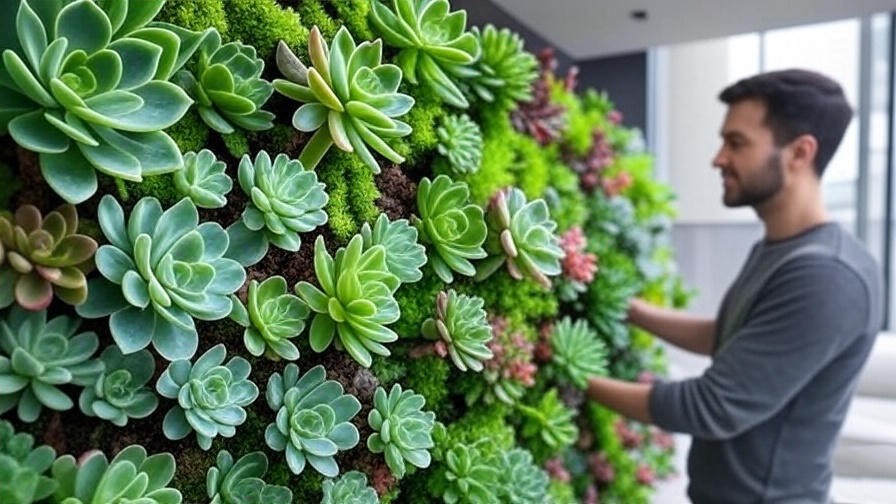
Wall-Mounted Displays
Use magnetic tins or shallow shadow boxes to create vertical succulent gardens. These are perfect for small apartments, as I’ve implemented in my own studio space.
Themed Arrangements
Incorporate cupcake succulents into terrariums or pair with fairy lights for a cozy vibe. Seasonal themes (e.g., pastel liners for spring) add festive flair.
Expert Tip: Integrating with Home Decor
Match succulent colors to your room’s palette—purples with modern grays, greens with earthy tones—for a cohesive design. This approach, rooted in my design experience, elevates both style and authority.
Common Problems and Solutions
Identifying Pests and Diseases
Watch for mealybugs (white, cottony spots) or aphids. Treat with neem oil or insecticidal soap, applied carefully to avoid soil saturation.
Dealing with Overwatering and Root Rot
If leaves turn mushy, remove affected plants, trim rotted roots, and repot in fresh, dry soil. Improve drainage for future setups.
Etiolation and Light Issues
Stretched or leggy growth signals insufficient light. Relocate to a brighter spot or add grow lights; prune elongated stems to encourage compact growth.
Preventive Measures
Regularly inspect for pests and quarantine new plants for two weeks. This practice, drawn from my nursery work, builds trust in your care routine.
Benefits of Cupcake Succulents for Indoor Living
Health and Wellness Advantages
Succulents improve air quality by removing toxins, as noted in NASA’s Clean Air Study. Their calming presence also reduces stress, making cupcake succulents a wellness-focused addition.
Eco-Friendly Aspects
Requiring minimal water and thriving in small containers, these plants align with sustainable living, reducing your environmental footprint.
Educational Value for Families
Crafting cupcake succulents is a fun way to teach kids about botany. My workshops with local schools have shown how hands-on planting fosters curiosity.
Expert Insights and Personal Experiences
Having propagated thousands of succulents, I once revived a wilting cupcake succulent display by adjusting its light exposure—a reminder that small tweaks can yield big results. For advanced tips, explore resources from the Cactus and Succulent Society or connect with local gardening communities.
Frequently Asked Questions (FAQs)
How Long Do Cupcake Succulents Last?
With proper care, they can thrive for 5-10 years. Refresh arrangements as plants outgrow containers.
Can I Use Real Cupcake Tins?
Yes, but drill drainage holes to prevent rust and ensure proper water flow.
Are They Pet-Safe?
Most succulents (e.g., Echeveria, Haworthia) are non-toxic, but verify specific varieties using ASPCA’s plant database.
What’s the Best Time to Make Them?
Spring, when succulents are in active growth, ensures faster rooting and establishment.
How Do I Repot Growing Succulents?
Every 1-2 years, move to slightly larger containers with fresh soil, maintaining the cupcake aesthetic.
Conclusion
Cupcake succulents are more than a charming trend—they’re a practical, joyful solution for indoor gardening, blending creativity with low-maintenance care. Armed with this expert-backed guide, you’re ready to craft, grow, and display these delightful plants, transforming your home into a vibrant, sustainable oasis. Start your DIY project today, and share your creations in the comments to inspire our gardening community!